Plan Design > Pay Curves
Compensation plans are often designed based on an increasing scale in which quota attainment directly relates to personal target payment. These rates are linear within a range of quota attainment and personal target percentages, with rates typically increasing as a quota is achieved and exceeded.
You can use the Pay Curves area to create and manage these pay curves, together with associated assignments (by position or title). You can then use the pay curves you define in percent to goal rules (defined in the Plan Design > Percent to Goal area).
Pay curves are similar to rate tables, but represent linear rather than step functions.
note: The pay curve commission release process is impacted by the PAYCURVE_RELEASE_SCOPE_TO_ATTAINMENT business preference specified in the Setup > Preferences area. For more information, see Understanding the Pay Curve Release Scope to Attainment Business Preference.
Screen
 Pay Curves Screen
All Fields
The following table describes the information you can specify when managing pay curves:
| Section | Field | Description |
|---|---|---|
| General | Name | The name of the pay curve. |
| Description | A description of the pay curve. | |
| Tags | The tags associated with the pay curve (as defined in the Setup > Tags area). | |
| Version | Tiers | The threshold and tiers for the pay curve. |
How to…
This section describes how to manage pay curves.
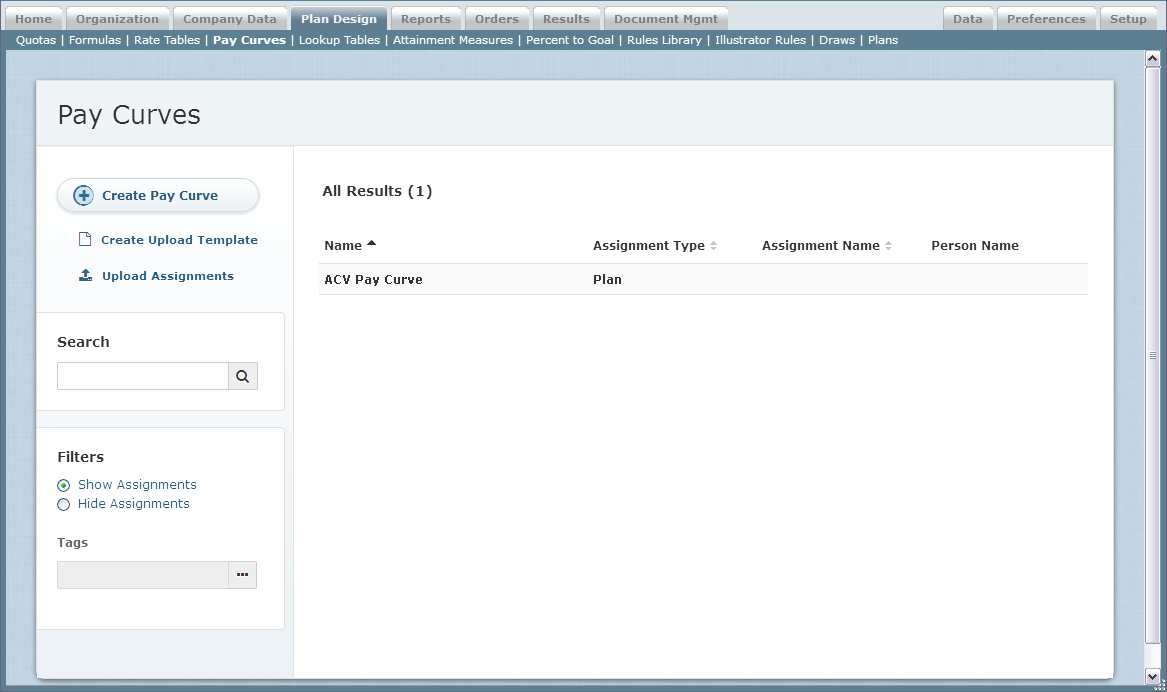
Display All Pay Curves
Click the Plan Design tab, then click Pay Curves in the secondary menu. The Pay Curves screen appears.
- To find specific pay curves, type part of the name in the Search text box, and click the
 button. The search results appear. Click the
  button to clear the Search text box and reset the search results.
 - To show or hide assignments in the search results, click the corresponding radio button in the Filters section.
- To filter pay curves by tags, select the appropriate tags in the Tags field.
- To display details about a pay curve, click the name of the pay curve.
- Use the page navigation buttons to navigate between the pages of pay curve results.
Create a Pay Curve
- Click the Plan Design tab, then click Pay Curves in the secondary menu. The Pay Curves screen appears.

Pay Curves Screen - Click the
 button. The Create Pay Curve screen appears.
 - In the Name field, type a name for the pay curve.
- (Optional) In the Description field, type a detailed description of the pay curve.
- In the Personal Target field, choose the personal target that you want to use for calculation.
You can choose from among the following option:
– Full
– Prorated
– Formula (select the corresponding formula) - (Optional) In the Tags field, specify the tags to associate with the pay curve.
- In the Tiers field, define the threshold and tiers of the pay curve.
The threshold represents a minimum percentage of the quota attainment that a sales rep needs to reach before commissions are paid. Note that Incent continues to calculate results for orders under the threshold, which constitute a “pending commission.”
Click the button to add a new tier. When adding new tiers, note the following:
– You can create up to nine tiers with percentages for quota attainment and personal targets, values that are used to determine the rate during calculation. Each value represents a percentage (for example, 10.2 represents 10.2%). You can alternatively specify the personal target percentage as a formula by clicking the corresponding button and selecting the appropriate formula in the dialog that appears.
– You can enter tiers in any order; Incent automatically sorts the tiers in ascending order (based on the quota attainment percentage) after you save the pay curve.
The graph on the right updates automatically to illustrate the pay curve, with the slope of the line showing the relationship between the personal target and quota attainment.
To delete a tier, click the corresponding button.
 - Select the check box to cap the percentage of the personal target with highest tier.
When this option is selected, Incent does not pay out commissions above that amount. - Click the
 button to save the pay curve and return to the search results.
Alternatively, click the button to save the pay curve and add assignments. Click the Cancel button to dismiss the screen without creating the pay curve.
If you choose to add assignments, the Select Assignments dialog appears. - Select an assignment and click the
 button. The assignment type and name appears under the Description field.
 - Click the
 button to display a dialog showing where the pay curve is being used.
 - Click the button to save the pay curve. Alternatively, click the Cancel button to dismiss the screen without creating the pay curve.
Add an Assignment to a Pay Curve
- Click the Plan Design tab, then click Pay Curves in the secondary menu. The Pay Curves screen appears.
- Hover over a pay curve in the list, and click the Add Assignment button that appears. The Select Assignments screen appears.
- Select an assignment and click the button. The assignment type and name appears under the Description field.
- Click the button to save the pay curve. Alternatively, click the Cancel button to dismiss the screen without adding the assignment to the pay curve.
Edit an Assignment
- Click the Plan Design tab, then click Pay Curves in the secondary menu. The Pay Curves screen appears.
- Make sure that the Show Assignments radio button is selected in the Filters section.
- Hover over a pay curve assignment in the list, and click the Edit button that appears. The Edit Pay Curve Assignment screen appears.
- Modify the tiers, as needed, or add a new version.
- Click the button to save the pay curve assignment. Alternatively, click the Cancel button to dismiss the screen without saving your changes.
Delete an Assignment
- Click the Plan Design tab, then click Pay Curves in the secondary menu. The Pay Curves screen appears.
- Hover over a pay curve assignment in the list, and click the Delete button that appears. A confirmation dialog appears.
- Click the
 button to delete the pay curve assignment.
Alternatively, click the Cancel button to dismiss the dialog without deleting the pay curve assignment.
Edit a Pay Curve
- Click the Plan Design tab, then click Pay Curves in the secondary menu. The Pay Curves screen appears.
- Hover over a pay curve in the list, and click the Edit button that appears. The Edit Pay Curves screen appears.
- Modify the fields, as required.
To show the existing versions, click the Show Version Details button. - Modify the tiers, as needed, or add a new version.
- Click the button to save the pay curve and return to the search results.
Alternatively, click the button to save the pay curve and add assignments. Click the Cancel button to dismiss the screen without creating the pay curve.
If you choose to add assignments, the Select Assignments dialog appears. - Select an assignment and click the button. The assignment type and name appears under the Description field.
- Click the button to save the pay curve. Alternatively, click the Cancel button to dismiss the screen without saving the pay curve.
Copy a Pay Curve
- Click the Plan Design tab, then click Pay Curves in the secondary menu. The Pay Curves screen appears.
- Hover over a pay curve in the list, and click the Copy button that appears. The Create Pay Curve screen appears.
- In the Name field, type a new name for the pay curve.
- Modify any other fields, as required.
- Click the button to save the pay curve and return to the search results.
Alternatively, click the button to save the pay curve and add assignments. Click the Cancel button to dismiss the screen without creating the pay curve.
If you choose to add assignments, the Select Assignments dialog appears. - Select an assignment and click the button. The assignment type and name appears under the Description field.
- Click the button to save the pay curve. Alternatively, click the Cancel button to dismiss the screen without saving the pay curve.
Delete a Pay Curve
- Click the Plan Design tab, then click Pay Curves in the secondary menu. The Pay Curves screen appears.
- Hover over a pay curve in the list, and click the Delete button that appears. A confirmation dialog appears.
You cannot delete a pay curve that has assignments. To delete a pay curve with one or more assignments, delete all assignments for the pay curve first by hovering over the assignments in the search results and clicking the Delete button that appears. - Click the button to delete the pay curve.
Alternatively, click the Cancel button to dismiss the dialog without deleting the pay curve.
Download the Audit History
- Click the Plan Design tab, then click Pay Curves in the secondary menu. The Pay Curves screen appears.
- Hover over a pay curve in the list, and click the Download Audit button that appears. A download dialog appears.
- Save the file to your local machine.
Create an Upload Template
You can create a template file that you can then populate with your upload data. You do this by moving options from the Available list to the corresponding Selected list.
Note: You need to select at least one pay curve and one position or title to create the template.
- Click the Plan Design tab, then click Pay Curves in the secondary menu. The Pay Curves screen appears.
- Click the
 button. The Create Upload Template screen appears.
 - In Step 1, select the pay curves to include in the upload template.
- In Step 2, select the positions to include in the template file.
- In Step 3, select the titles to include in the upload template.
- Click the
 button. Download the file to you local machine.
Upload Pay Curve Assignments
- Click the Plan Design tab, then click Pay Curves in the secondary menu. The Pay Curves screen appears.
- Click the
 button. The Upload Pay Curve Assignments dialog appears.
 - If you haven’t ready created an upload template file, click the corresponding link and complete the steps.
- Edit the template file to include the pay curve assignments information, as required, and save the file.
- In Step 1, click the
 button and select the file you edited in the previous step.
 - In Step 2, select the effective dating parameters for the upload.
Choose from among the following options:
– Allow creation of new versions
– Allow updates to existing versions
– Allow updates and new creation
Select the option to allow mid-period dates that automatically align to the period start date, if appropriate. - Click the
 button. The upload operation creates new assignments and updates existing assignments, as required.