Analysis > Scenarios
A scenario is a combination of shared Setup, Organization, Company, and Order data put together with a group of compensation plans. You can calculate a scenario based on a set of “what if” results that you can capture in a snapshot for later use.
Screen

Scenarios Screen
All Fields
The following table describes the information you can specify when managing scenarios:
| Field | Description |
|---|---|
| Scenario Name | The name of the scenario. |
| Description | A description of the scenario. |
| Requested By | The person who requested the scenario. |
| Period | The period of the scenario. |
| Created Date | The date when the scenario was created. |
| Created By | The person who created the scenario. |
How to…
This section describes the tasks you can perform when managing scenarios.
Create a Scenario
- Click the Analysis tab, then click Scenarios in the secondary menu. The Scenarios screen appears.
- Click the New button.
- Enter a name for the scenario.
- Choose a period from the drop-down menu.
The validation process fails if you do not choose a period for the scenario. - (Optional) Enter a description.
- (Optional) Enter the date the scenario was created.
- (Optional) Enter who requested the scenario.
- (Optional) Enter who created the scenario.
- Click the Save button.
Assign Scenarios to Plans
After you have created a scenario, you can assign it to a plan.
- Click the Plan Design tab, then click Plans. The Plans screen appears.
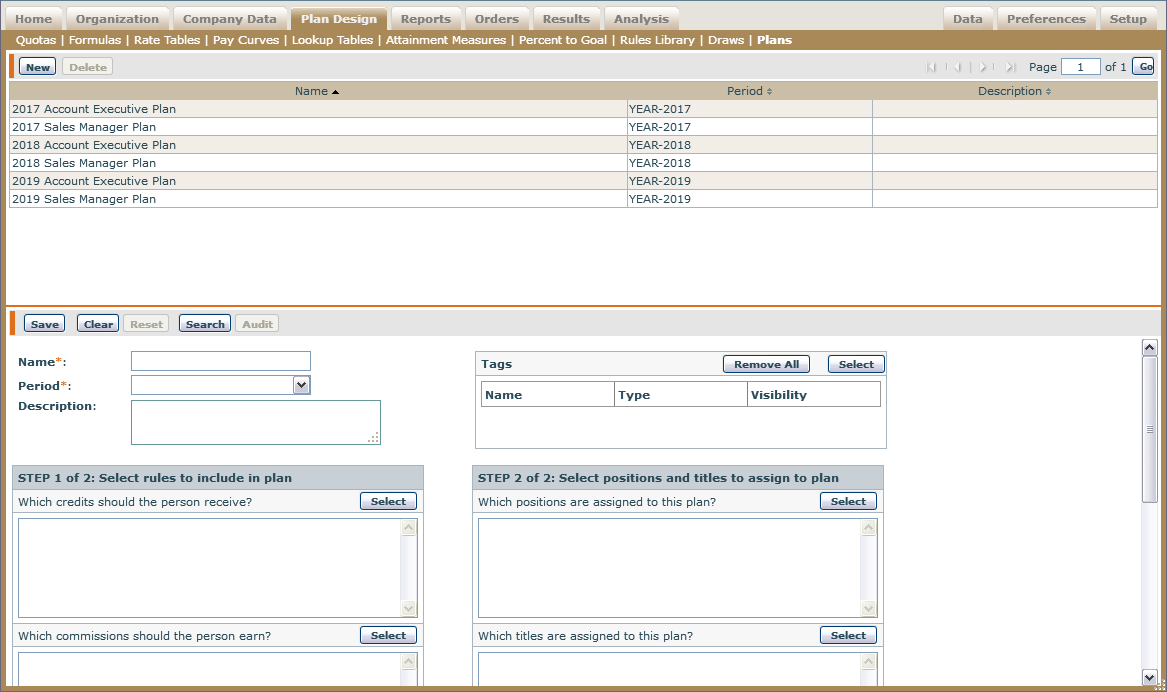
- On the Plans screen, you can create a new plan, or select an existing plan from the list at the top the upper part of the screen.
- To create a new plan, click the New button, and fill in the fields in the lower part of the screen.a. Enter a name for the plan.
b. Select a plan period from the drop-down list.
c. (Optional) Enter a description. - Select any rules to include in the plan.a. Select any credits, commissions, or bonuses the person should receive by clicking the Select button.
b. Assign a credit, commission, or bonus by moving credits from the Available area to the Assigned area in the pop-up window.
c. Click OK. - Select any positions and titles to assign to the plan.a. Select positions and/or titles to assign to the plan by clicking the Select button.
b. Assign a position or title by moving positions from the Available area to the Assigned area in the pop-up window.
c. Click OK. - Click the Save button.