Credit Assignment > Users
You can use the Users area to find and download users in the Credit Assignment application.
note: You cannot add or delete users in the Credit Assignment application. To manage
users, use the Setup > Users area in Xactly Incent.
Screen
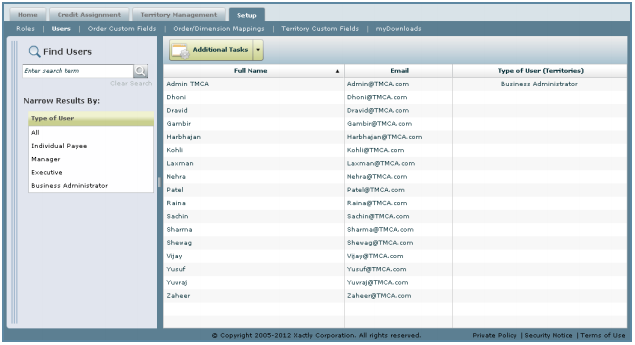
Users Screen
Displayed Columns
The following table describes the columns displayed when managing users
| Column | Description |
|---|---|
| Full Name | The full name of the user. |
| The email address of the user. | |
| Type of User (Territories) | The type of the user. |
How to…
This section describes how to manage users.
Display All Users
• Click the Setup tab, then click Users in the secondary menu. The Users screen
appears displaying all users in the results area.
Find Specific Users
1. Click the Setup tab, then click Users in the secondary menu. The Users screen
appears.
2. Type part of the user name in the Find Users field.
note: The Find Users field does not recognize regular expressions using characters such as * or ?.
3. Click the![]() button.
button.
The search results appear in the results area.
4. (Optional) Narrow the search results by choosing an option in the Type of User list.
The possible options are:
• All
• Individual Payee
• Manager
• Executive
• Business Administrator
5. Click the Clear Search button to clear the search terms, as required.
Assign Roles to a User
1. Click the Setup tab, then click Users in the secondary menu. The Users screen
appears.
2. Select a user from the list in the results area. The User Details dialog appears.
3. Click the ![]() button. The Select Roles for User dialog appears.
button. The Select Roles for User dialog appears.
4. Select the roles, and click the![]() button.
button.
note: The roles you specify here apply only to the Credit Assignment application,
and do not apply to users in Xactly Incent or Modeling.
Alternatively, click the ![]() button, specify the role information, and
button, specify the role information, and
click the![]() button.
button.
5. Click the ![]() button to close the User Details dialog.
button to close the User Details dialog.
Download Users
1. Click the ![]() button, and choose the format using the
button, and choose the format using the
Download Users sub-menu.
You can choose from among the following options:
• Microsoft Excel (.xls)
• Comma Separated Values (.csv)
• Tab Separated Values (.txt)
2. (Optional) Type the name of the download file, and click the ![]() button.
button.
If you do not specify a file name, the system automatically assigns a unique name.
The file appears in the myDownloads area.