DocuSign Documents (Android)
You can use the DocuSign Documents pod to display and manage DocuSign documents.
Screen
 DocuSign Documents Pod
How to…
This section describes how to use the DocuSign Documents pod.
Display the DocuSign Documents Pod
1. Tap the ![]() button (near the top left of the screen) to show the Dashboard and My Report menu.
button (near the top left of the screen) to show the Dashboard and My Report menu.
2. With the menu revealed, tap the Documents Dashoard section heading to display the corresponding dashboard.
3. Tap the DocuSign Documents pod. The DocuSign Documents pod expands to fill the screen.
Manage Documents
1. To display an overview of the documents for a specific year, tap the year (near the top left of the screen) and choose a year from the drop-down menu that appears.
2. To display a summary of a category of documents for the currently-selected year, tap the category (in the legend below the chart).
To display a summary of documents for all years, tap the View All Years button.
For example, the following shows a summary of the documents awaiting you.
 Documents Summary Screen
3. Tap the ![]() button to filter the documents that appear.
button to filter the documents that appear.
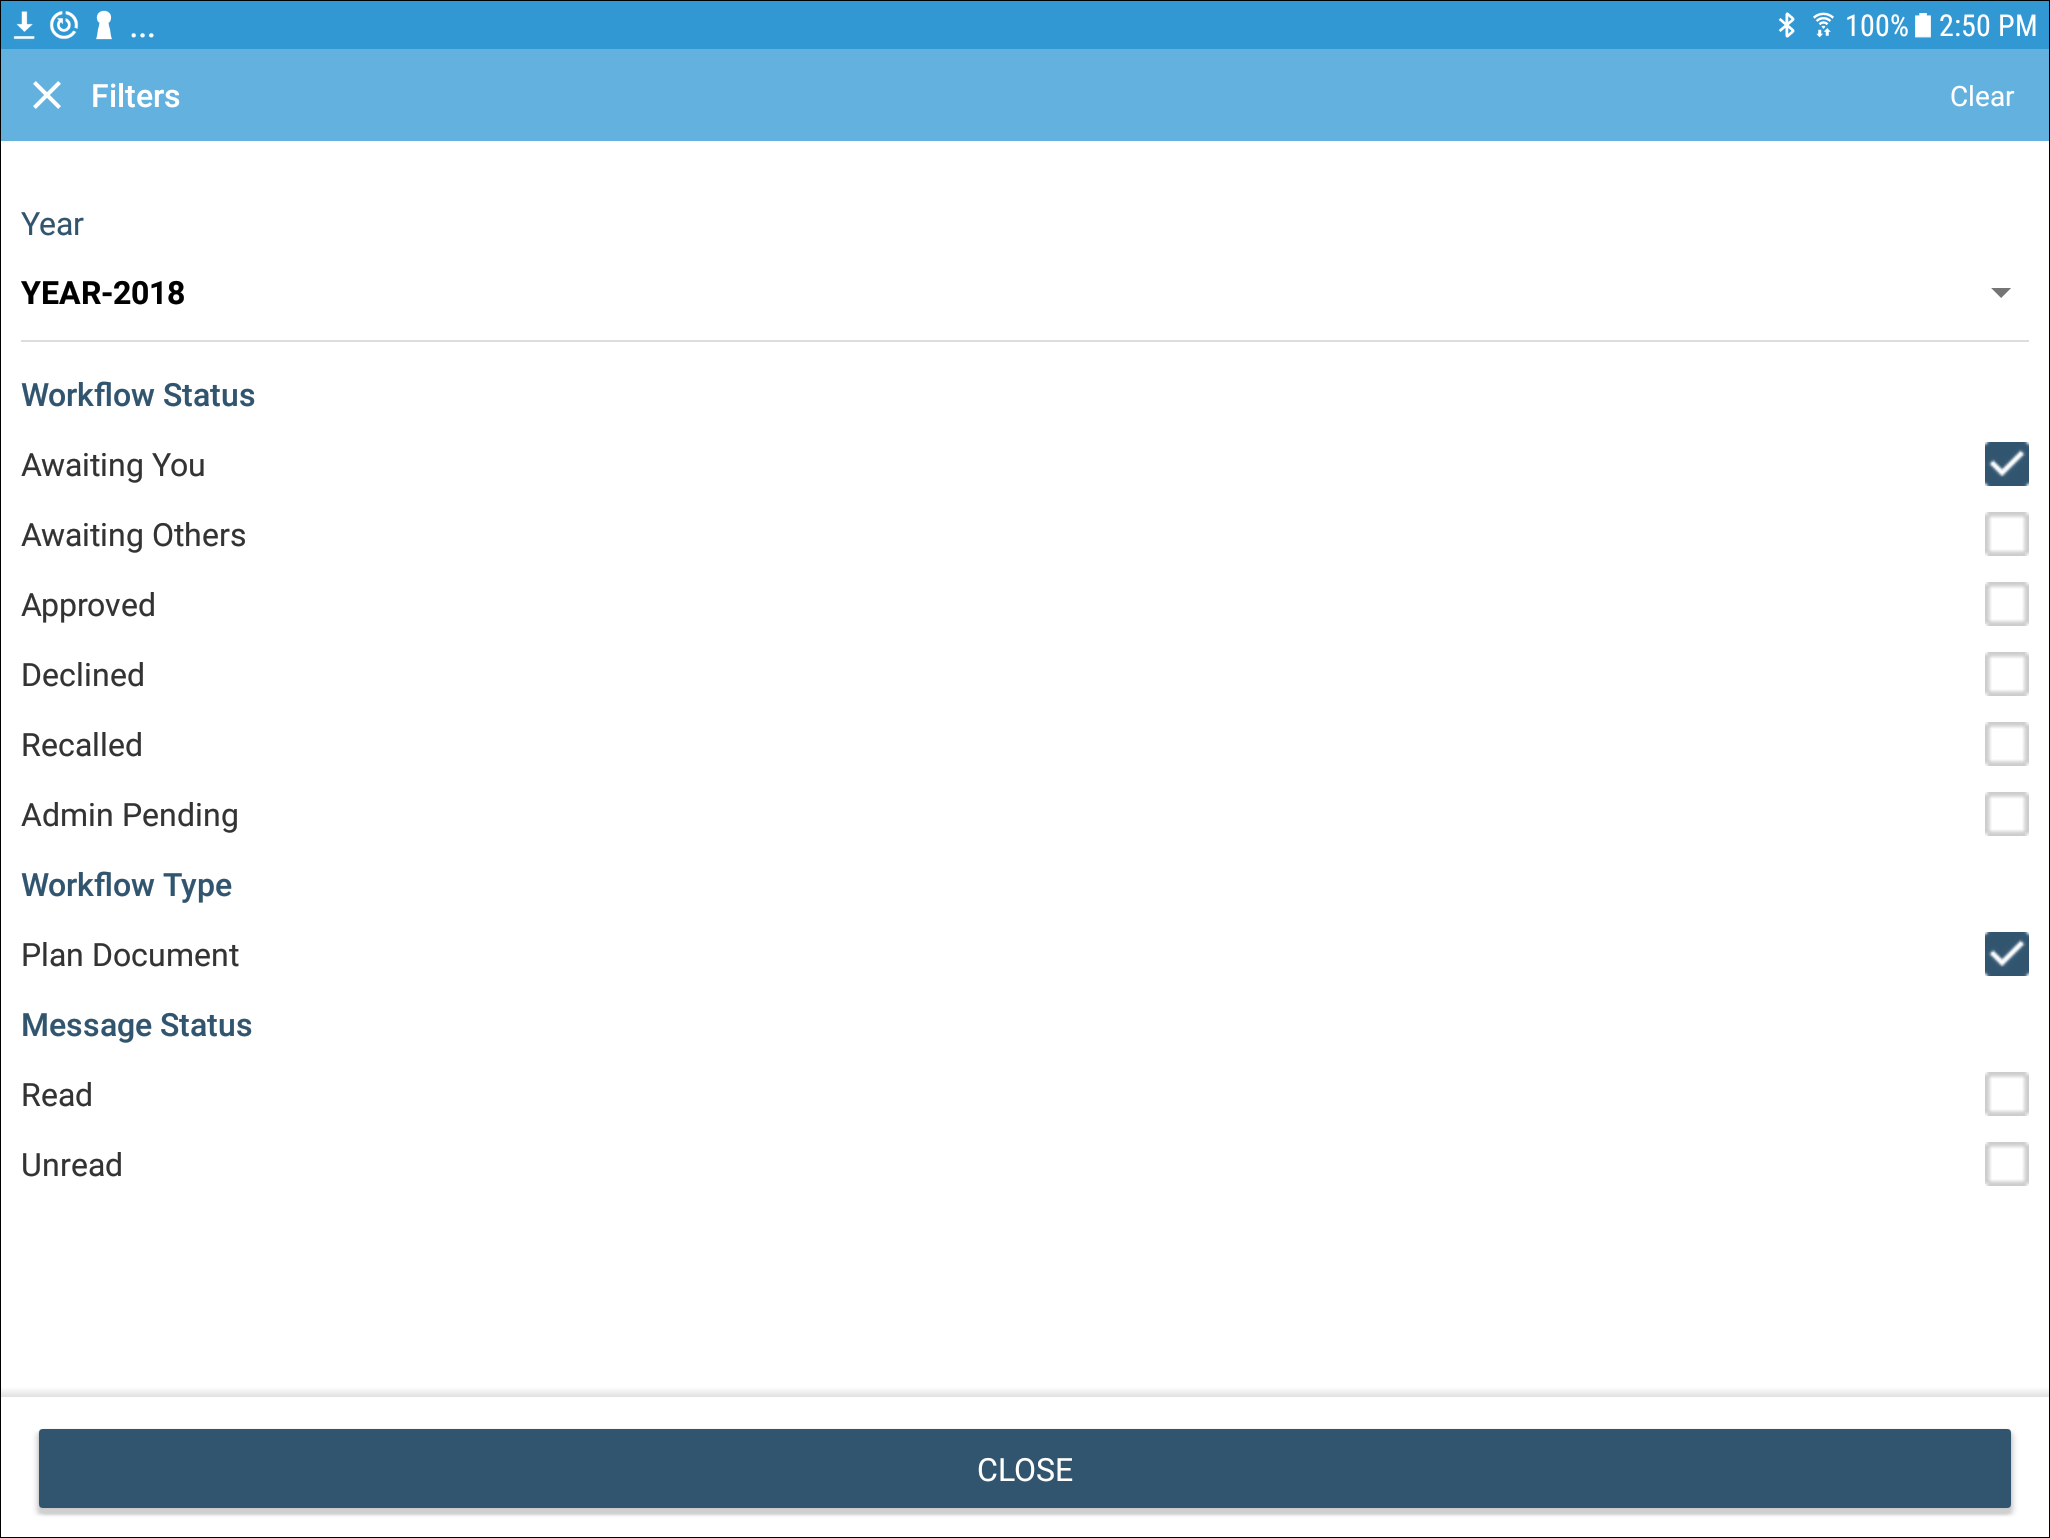 Document Filters Pop-up
Select the appropriate categories and tap the CLOSE button.
4. To display a specific document, tap the corresponding document in the list.
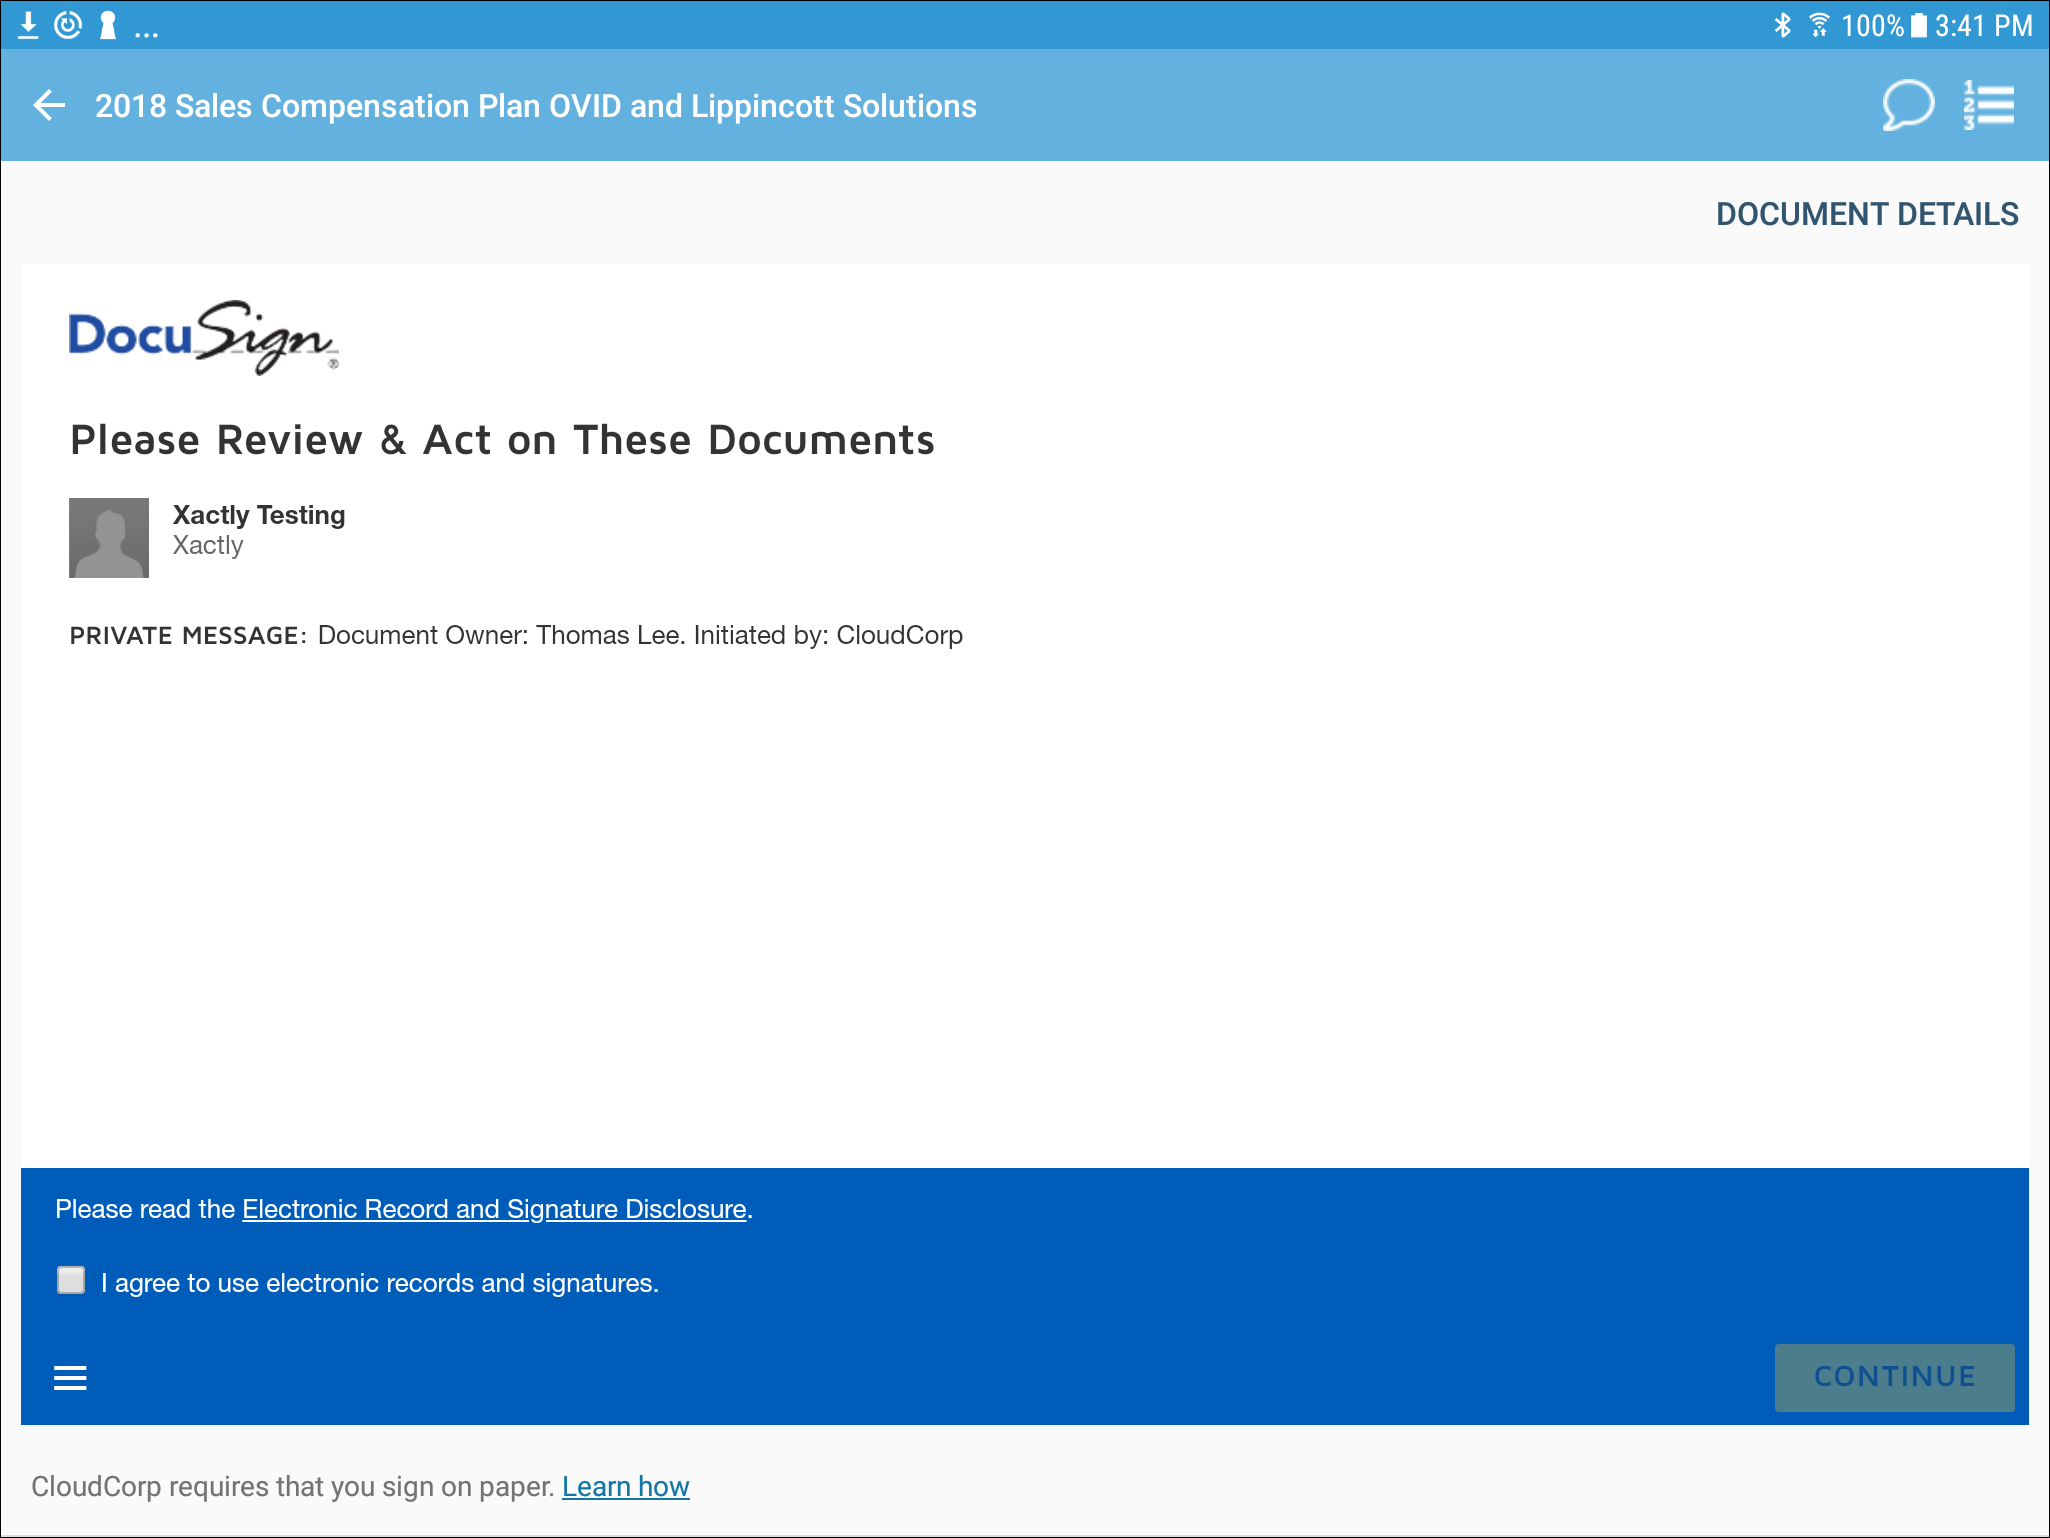 DocuSign Document Screen
To sign a document, select the check box to indicate that you agree to use electronic records and signatures, and click the CONTINUE button. Follow the on-screen instructions to complete the DocuSign process.
5. Tap the Document Details button to display a pop-up showing the corresponding details.
 Document Details Pop-up
6. Tap the ![]() button to add comments to the currently-selected document.
button to add comments to the currently-selected document.
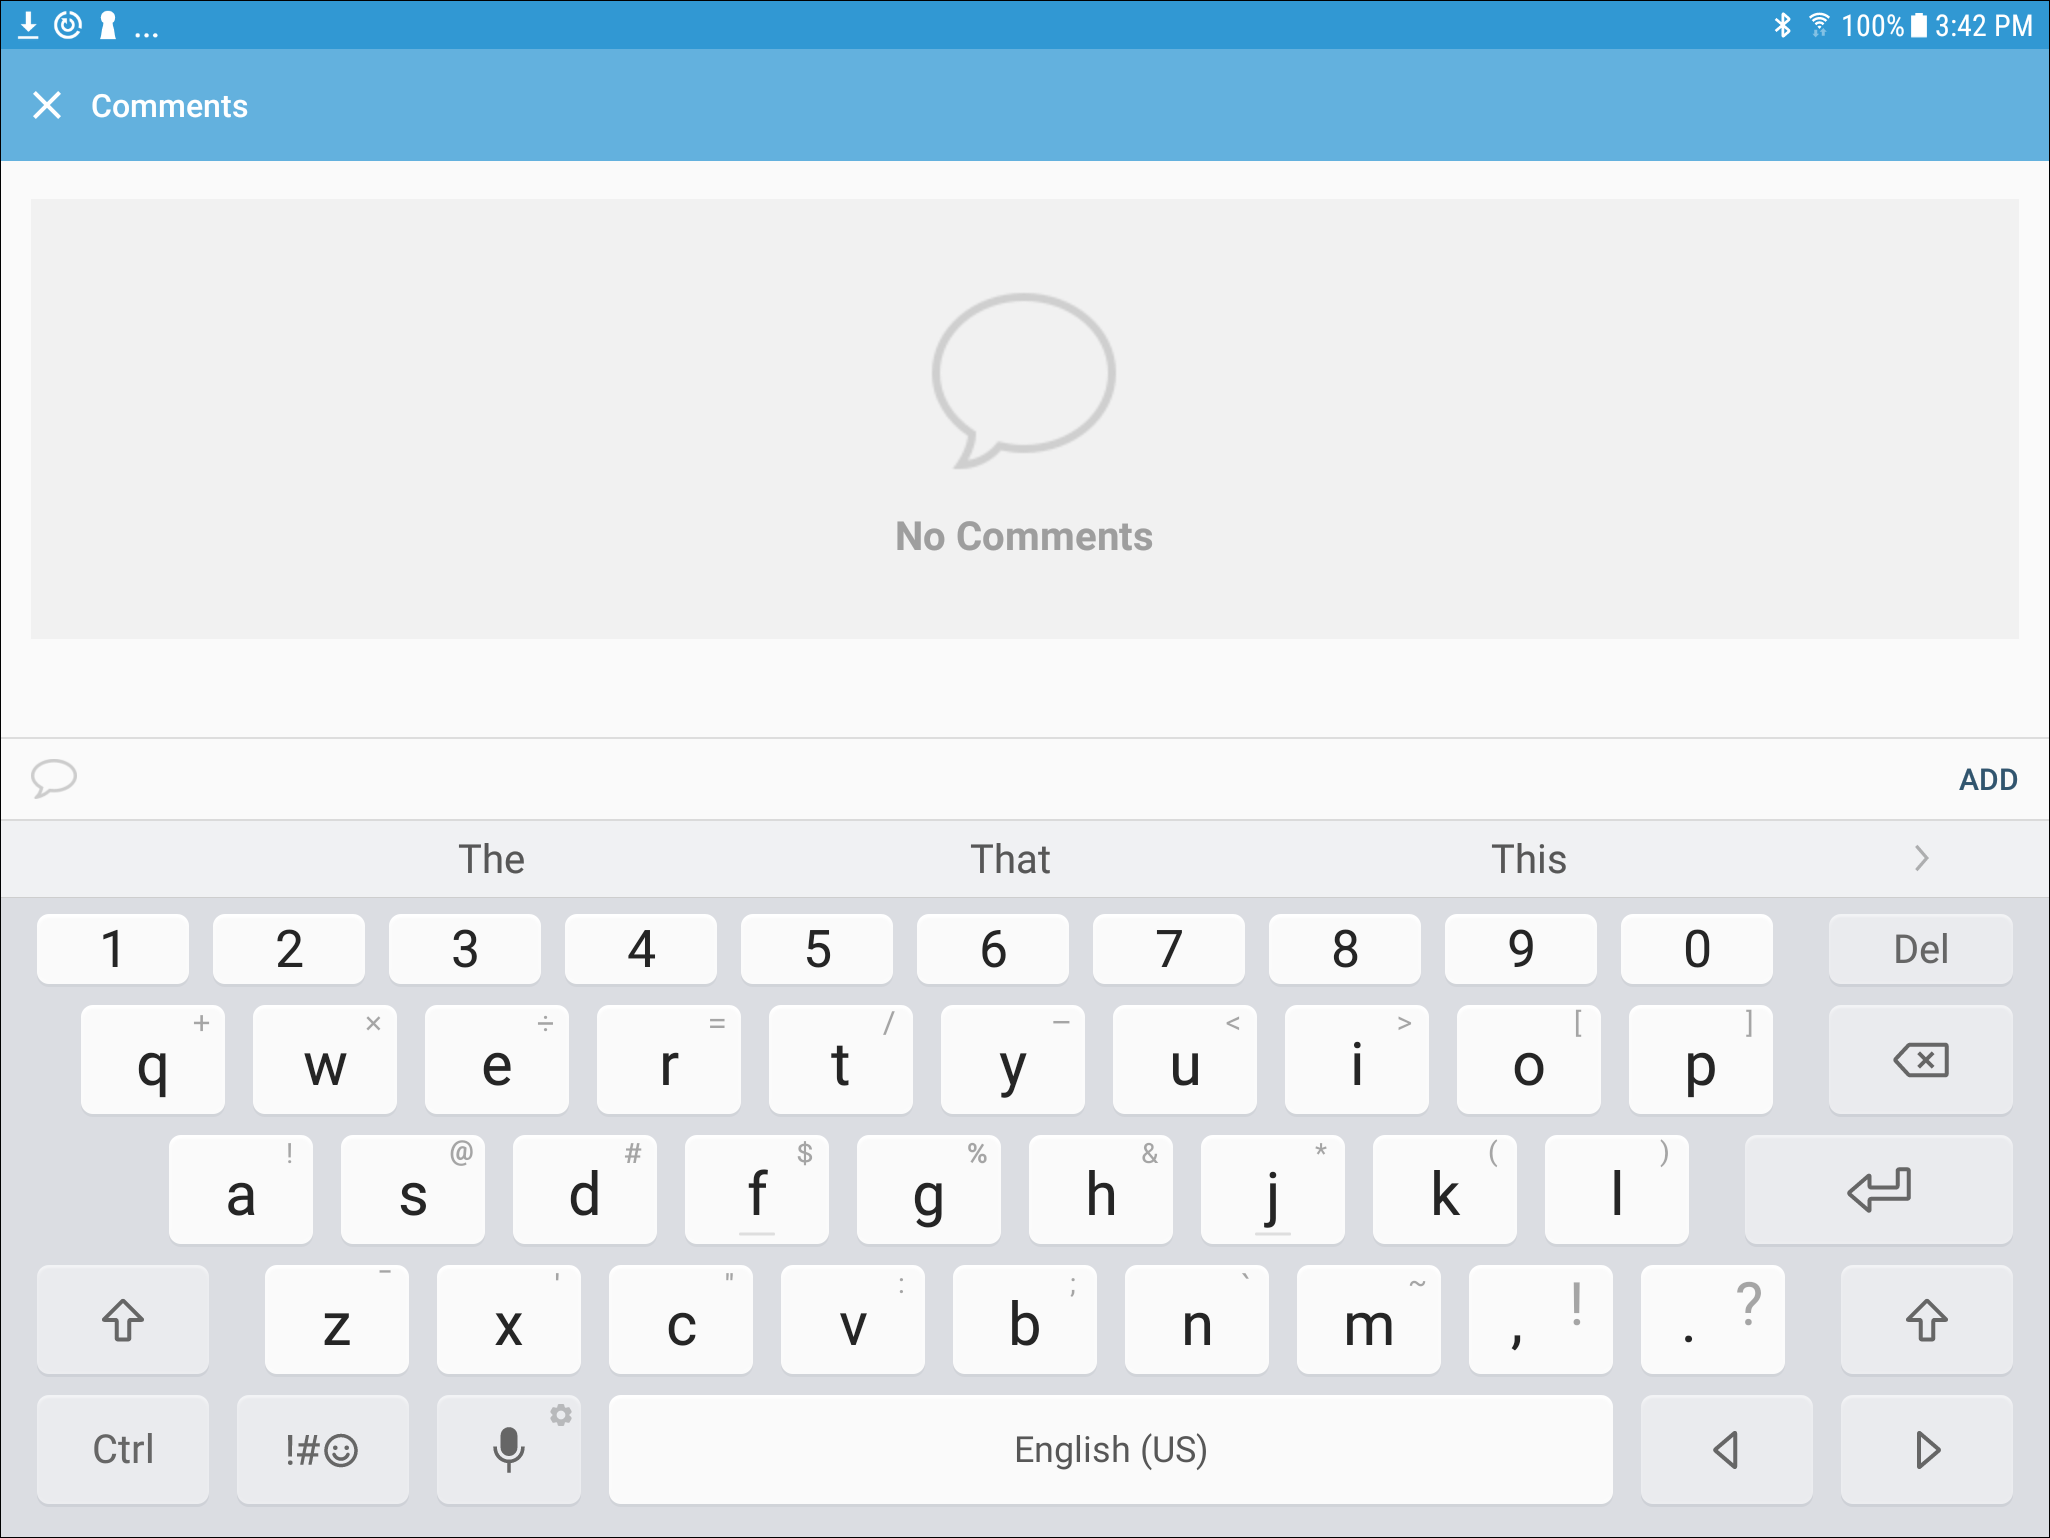 Document Comments Pop-up
Type a comment and click the ADD button.
7. Tap the ![]() button to display the status of the currently-selected document.
button to display the status of the currently-selected document.
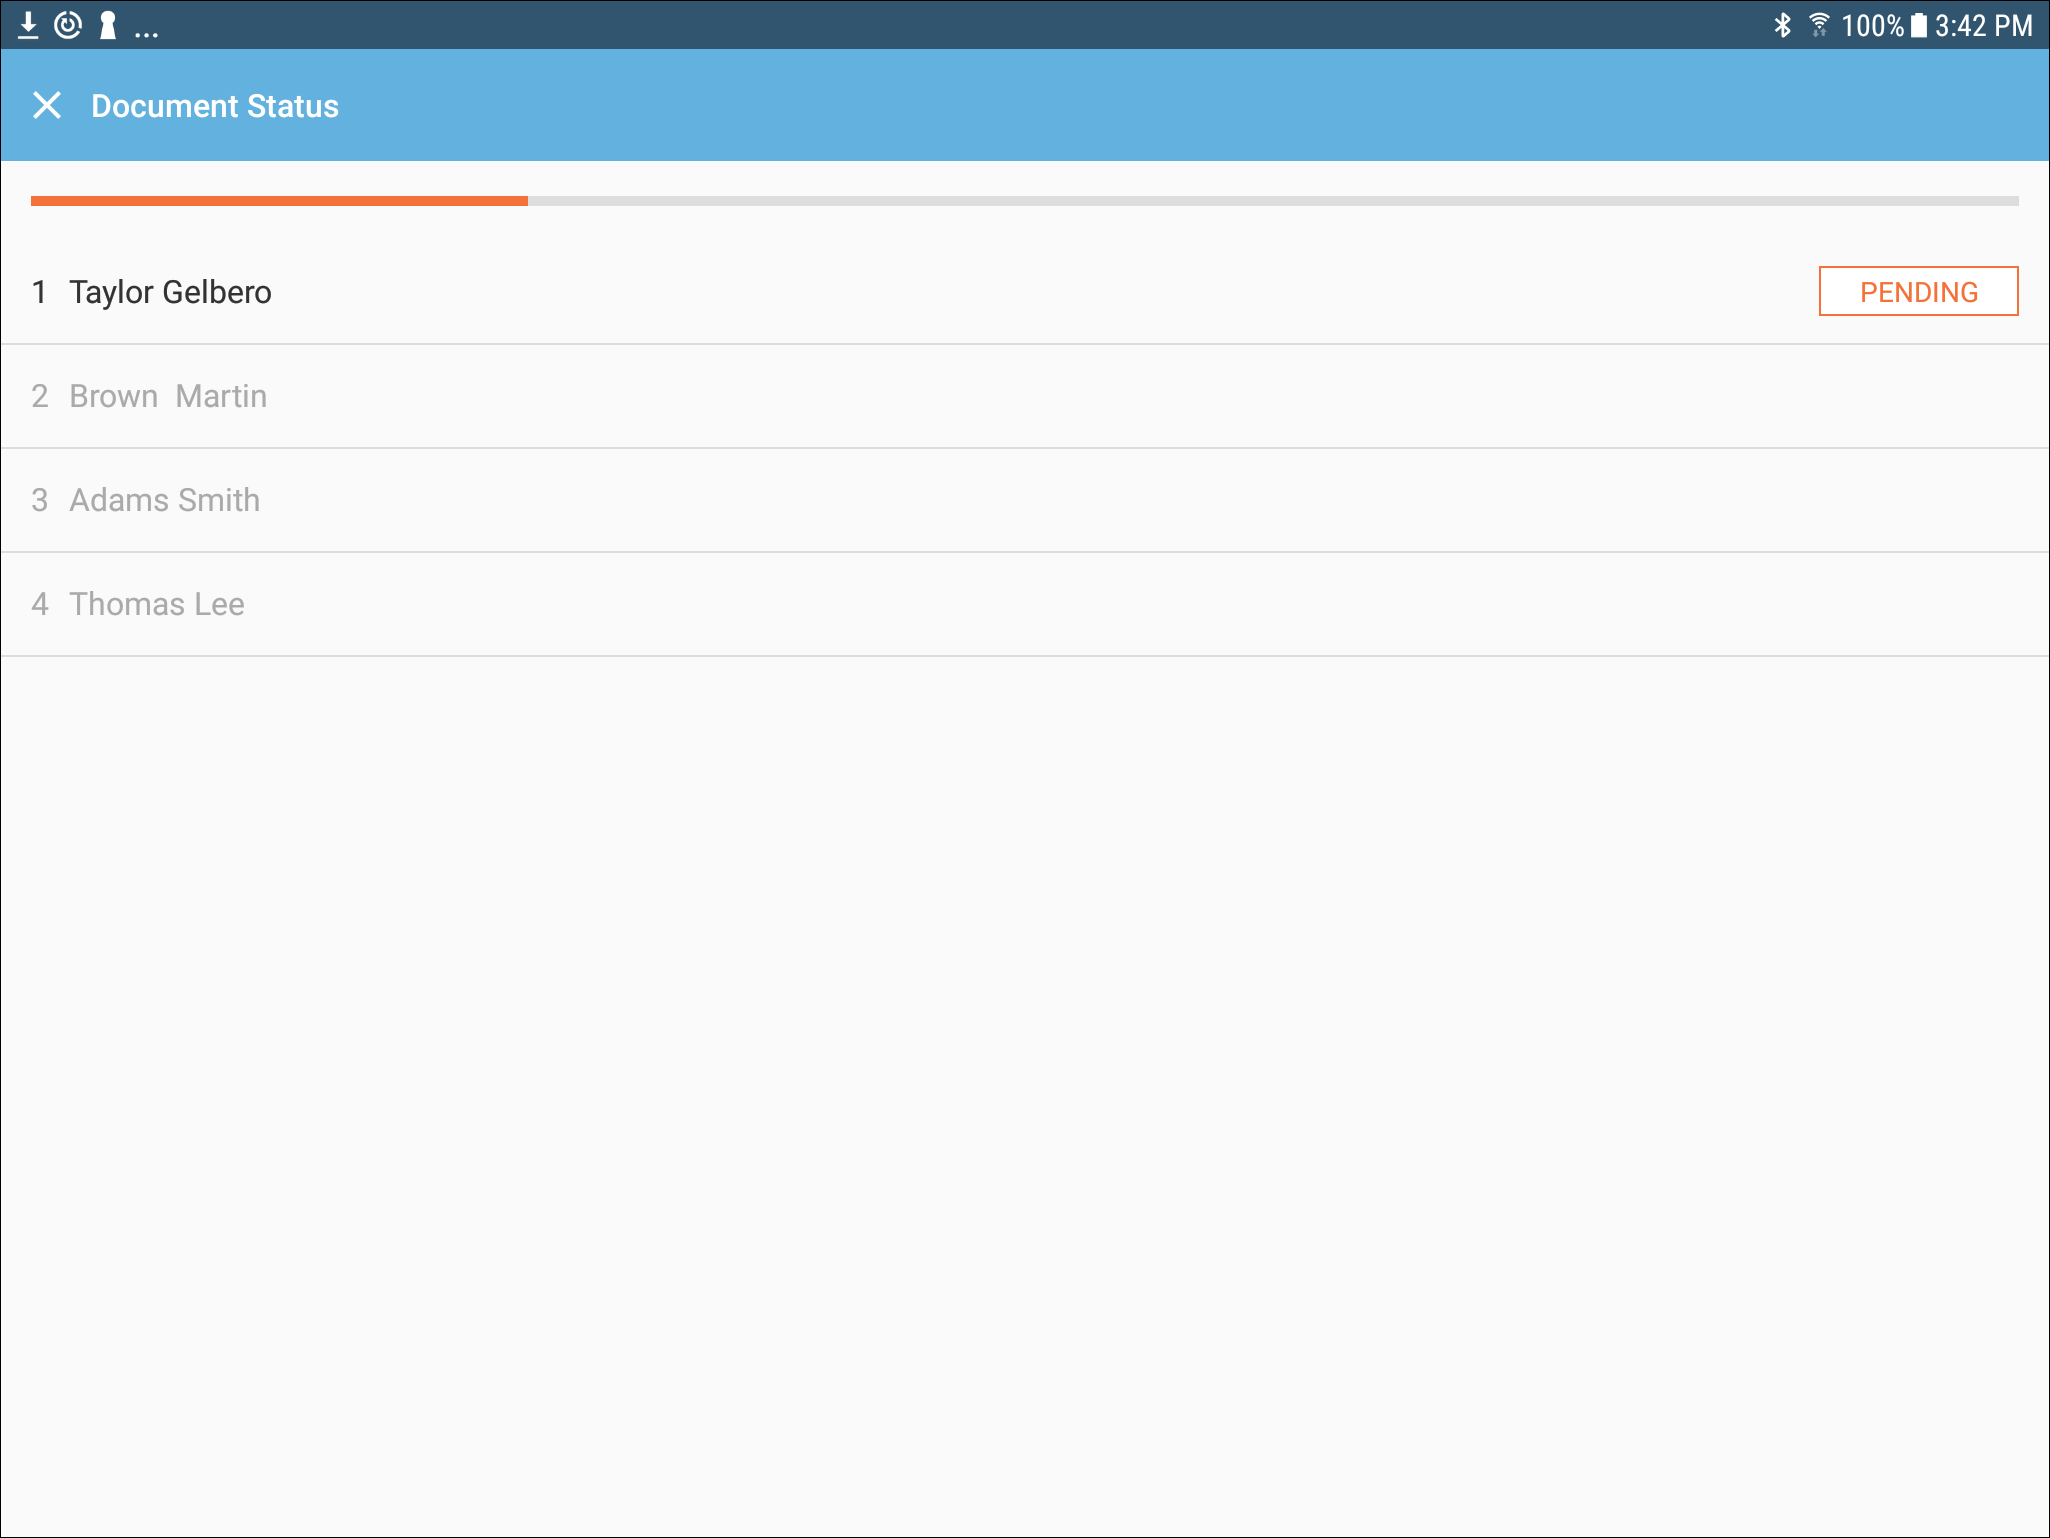 Document Status Pop-up
8. Tap the ![]() button to return to the main screen showing the chart.
button to return to the main screen showing the chart.