Incent Administrator Customer
The Customer area allows companies to set up customers and channels that can be used in the incentive compensation rules, formulas, attainment measures, lookup tables, and the Incentive Estimator. Customer name and the corresponding fields can also be used for reporting in Xactly Analytics, and are featured in a “Top Ten Customers by Order Amount” out-of-the-box template report.
Customer names can be created during the order upload process automatically, or validated against existing customers when uploading a new order upload file. Other details about a specific customer can be added or edited via the customer area but not directly via order uploads.
Screen
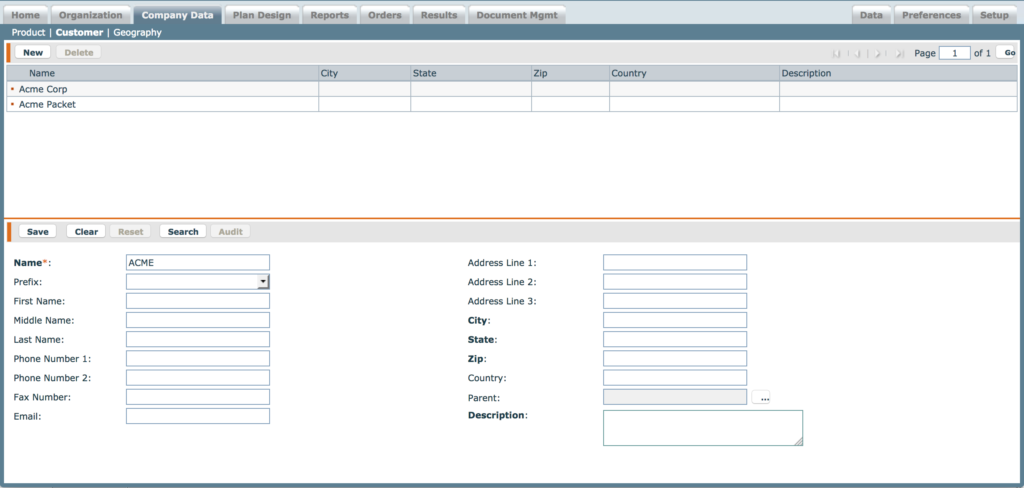
Customer Screen
All Fields
The following table describes the information you need to specify when managing customers:
| Field | Description |
|---|---|
| Name | The name of the customer. |
| Prefix | The title that will go before the person’s name, such as Mr. or Mrs. |
| First Name | The first name of the customer. |
| Middle Name | The middle name of the customer. |
| Last Name | The last name of the customer. |
| Phone Number 1 | The primary phone number of the customer. |
| Phone Number 2 | The secondary phone number of the customer. |
| Fax Number | The fax number of the customer. |
| The email address of the customer. | |
| Address Line 1 | The first address line for the customer. |
| Address Line 2 | The second address line for the customer. |
| Address Line 3 | The third address line for the customer. |
| City | The city for the customer. |
| State | The state for the customer. |
| Zip | The ZIP code for the customer. |
| Country | The country for the customer. |
| Parent | The parent customer, if the customer being created is a sub-customer of an existing customer. |
| Description | A description of the customer. |
How to…
This section describes how to manage customers.
Create a Customer
1. Click the Company Data tab, then click Customer in the secondary menu. The
Customer screen appears.
2. Click the New button.
3. Enter a name in the Name* field. This is the name of the customer being created.
4. (Optional) Select a Prefix from the drop-down list. This is the title that will go before
the person’s name, such as Mr. or Mrs.
5. (Optional) Enter the person’s first name in the First Name field.
6. (Optional) Enter the person’s middle name in the Middle Name field.
7. (Optional) Enter the person’s last name in the Last Name field.
8. (Optional) Enter a phone number in the Phone Number 1 field.
9. (Optional) Enter a second phone number in the Phone Number 2 field.
10. (Optional) Enter a fax number in the Fax Number field.
11. (Optional) Enter an email address in the Email field.
12. (Optional) Enter an address in Address Line 1. This can be the street address.
13. (Optional) Enter an address in Address Line 2. This can be the street name.
14. (Optional) Enter an address in Address Line 3. This can be an suite number.
15. (Optional) Enter a city in the City field.
16. (Optional) Enter a state in the State field.
17. (Optional) Enter a ZIP code in the Zip field.
18. (Optional) Enter the customer country in the Country field.
19. (Optional) Click the ![]() button next to the Parent field. The Select a Customer
button next to the Parent field. The Select a Customer
screen appears.
note: If the Customer being created is a sub-customer of an existing customer, use
the Parent field to select the Parent customer.
a. (Optional) Select a Customer.
b. (Optional) Click the OK button.
20. (Optional) Enter a description of the customer being created in the Description
field.
21. Click the Save button. The newly created customer appears in the Results Pane
area.
note: If a Parent was selected, the newly created customer will appear as a subcustomer
of the Parent Customer.
Edit a Customer
note: The only field that cannot be modified is the Name field.
1. Select a Customer from the list in the Results Pane area.
2. Select and edit the fields that require changes.
3. Click the Save button.
Delete a Customer
1. Select the Customer from the list in the Results Pane area.
2. Click the Delete button. A message appears asking “Do you really want to delete
the selected item?”.
3. Click the OK button to confirm the deletion, or click the Cancel button to cancel
the action.
NOTE: A Customer cannot be deleted if it is being referenced in an order in the system. You must reset any orders associated with that specific customer before removing the customer from the customer tab.