Incent Administrator Plan Design > Plans
You can use the Plans area to define incentive compensation plans by selecting various rules and associating them with users through titles and/or positions.
Screen
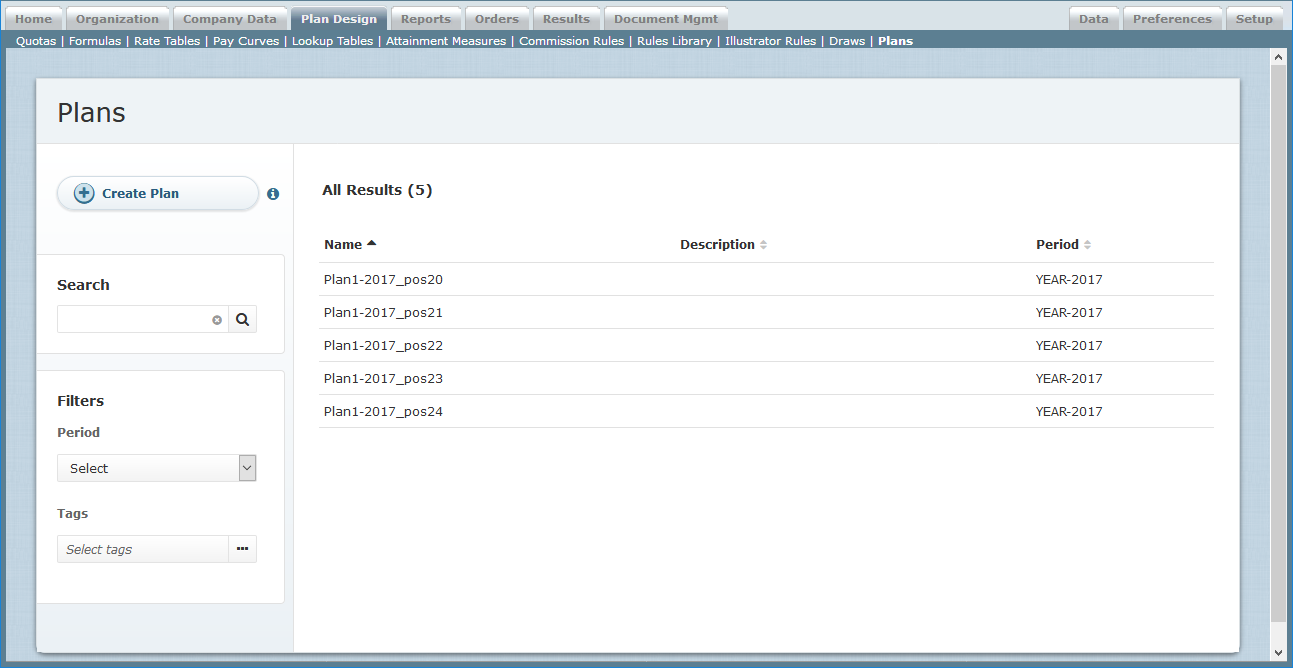 Plans Screen
All Fields
The following table describes the information you can specify when managing plans
| Field | Description |
|---|---|
| Name | The name of the plan. The maximum length is 64 characters. |
| Description | A description of the plan. |
| Period | The yearly period for the plan |
| Tags | The tags associated with the plan (as defined in the Setup > Tags area). |
| Plan Components | The credit, commission, and bonus rules (along with rule tags) to assign to the plan. |
| Titles or Positions | The titles and positions to assign to the plan. |
| Illustrator Setup | The illustrator rules to include on the plan. |
How to…
This section describes how to manage plans.
Search Plans
Click the Plan Design tab, then click Plans in the secondary menu. The Plans screen appears.
- To find specific plans, type part of the name or description in the Search text box, and click the
 button. The search results appear. Click the
  button to clear the Search text box and reset the search results.
 - To filter plans by period, select the period using the drop-down list in the Period field.
- To filter plans by tags, select the appropriate tags in the Tags field.
- To display details about a plan, click the name of the plan.
- Use the page navigation buttons to navigate between the pages of plans.
Create a Plan
1. Click the Plan Design tab, then click Plans in the secondary menu. The Plans screen appears.
2. In the Name* field, type the name of the new plan.
3. (Optional) In the Description field, type a description of the plan.
4. (Optional) In the Tags field, add or remove the tags associated with the plan.
5. In Step 1: Add Plan Components, select the credit, commission, and bonus rules to include on the plan.
Click the appropriate button to add the credit, commission, or bonus rules. A dialog appears allowing you to select one or more rules. You can also add rules using tags that you have applied to existing rules.
note: You need to assign at least one rule to a plan.
6. In Step 2: Assign by Titles or Positions, select the titles or positions to assign to the plan.
Click the appropriate button to select either the titles or positions. A dialog appears allowing you to select one or more titles or positions. When selecting a title or position, you can specify the active dates for the plan. Be aware that a title or position can only have one active plan at a time.
note: If a person is associated to a plan by title and position, the position-based plan is used.
7. In Step 3: Illustrator Setup, select the illustrator rules to include on the plan.
Click the appropriate button to select the rules. A dialog appears allowing you to specify your selection.
8. Click the ![]() button to save the plan and return to the main screen. Alternatively, click the
button to save the plan and return to the main screen. Alternatively, click the ![]() button to save and copy the plan, allowing you to quickly create another plan based on the one you just saved.
button to save and copy the plan, allowing you to quickly create another plan based on the one you just saved.
Copy a Plan
- Click the Plan Design tab, then click Plans in the secondary menu. The Plans screen appears.
- Hover over a plan in the list, and click the Copy button that appears. The Create Plan screen appears.
- In the Name field, type a new name for the plan.
- Modify any other fields, as required.
- Click the
 button to save the plan and return to the main screen. Alternatively, click the
  button to save and copy the plan, allowing you to quickly create another plan based on the one you just saved.
Edit a Plan
- Click the Plan Design tab, then click Plans in the secondary menu. The Plans screen appears.
- Hover over a plan in the list, and click the Edit button that appears. The Edit Plan screen appears.
- Modify the fields, as required.
Note that you cannot change the Name and Period fields. - Click the button to save the plan and return to the main screen. Alternatively, click the button to save and copy the plan, allowing you to quickly create another plan based on the one you just saved.
Delete a Plan
- Click the Plan Design tab, then click Plans in the secondary menu. The Plans screen appears.
- Hover over a plan in the list, and click the Delete button that appears. A confirmation dialog appears.
- Click the
 button to delete the plan. Alternatively, click the Cancel button to dismiss the dialog without deleting the plan.
Download the Audit History
- Click the Plan Design tab, then click Plans in the secondary menu. The Plans screen appears.
- Hover over a plan in the list, and click the Download Audit button that appears. A download dialog appears.
- Save the file to your local machine.