Reports > Customize > Pod Messages
Users can display a summary of their messages, both personal and those from the
Xactly administrator, using the Messages pod on their dashboards. Users can also be
presented with important messages as a popup when they log into Incent.
As an administrator, you can use the Pod Messages area to manage these administrator
messages. Specifically, you can add new messages, create new messages
based on existing messages, preview messages, and delete messages.
You can also update messages, as required, change the order in which messages
appear to users, and specify whether a message appears in the Messages pod, as a
popup message when a user logs in, or both.
Screen
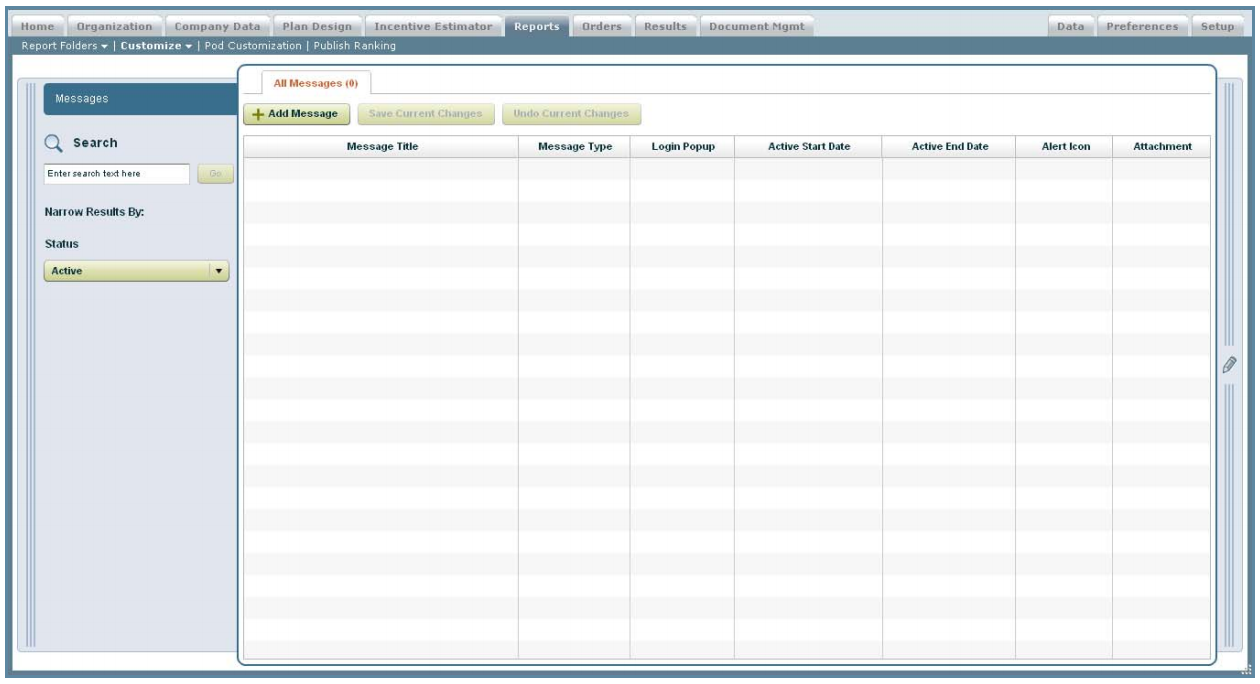
Pod Messages Screen
All Columns and Fields
The following table describes the information displayed when customizing pod messages:
| Column | Description |
|---|---|
| Message Title | The title of the message. |
| Message Type | The type of message, from among the following: • Text • Uploaded Image • URL |
| Login Popup | Specifies whether the message appears in the Messages pod, as a login popup message, or both. |
| Active Start Date | The start date of the message. |
| Active End Date | The end date of the message. |
| Alert Icon | Indicates whether an alert icon is displayed for the message. |
| Attachment | Indicates whether there is a message attachment. |
How to…
This section describes how to customize pod messages.
Display the Pod Messages
1. Click the Reports tab, and select Customize > Pod Messages from the secondary
menu. The Pod Messages screen appears.
2. (Optional) Type a value in the Search field and click ![]() to display matches in
to display matches in
a new search tab.
3. (Optional) Choose the status using the Status drop-down menu.
Add a Pod Message
1. Click the ![]() button. The New Message screen appears.
button. The New Message screen appears.
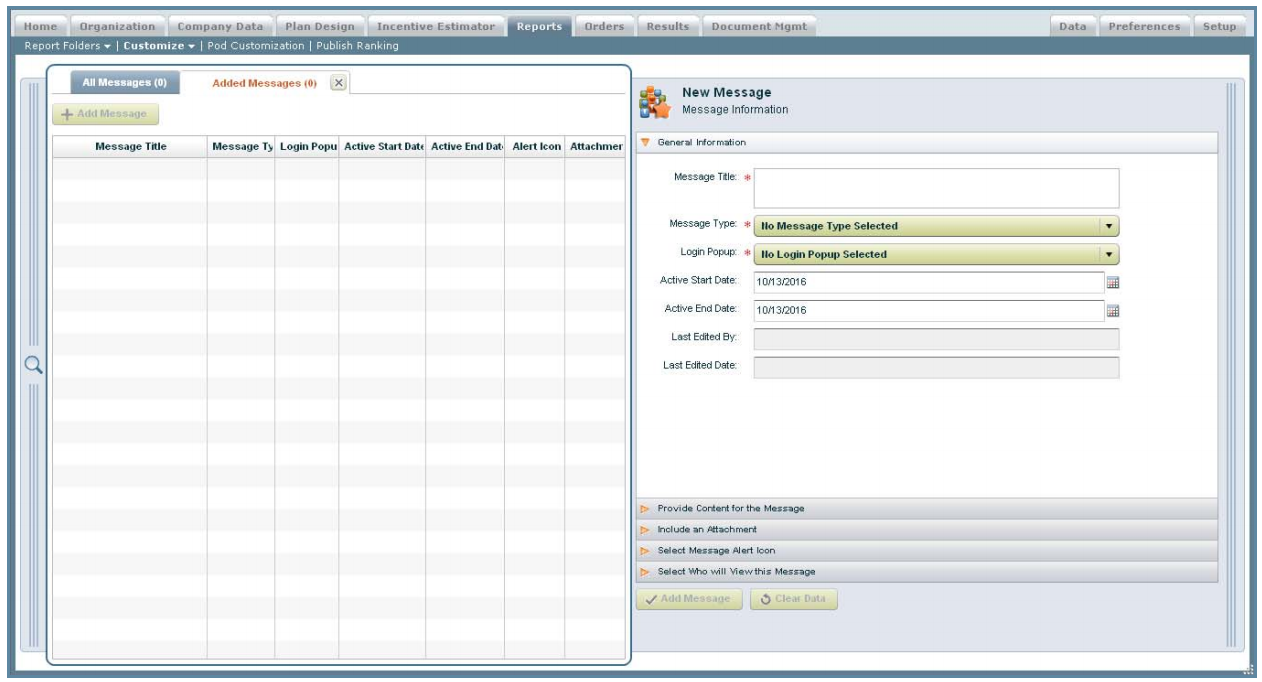
New Messages Screen
2. Specify the general information.
a. Type the title of the message in the Message Title* field. This is the subject of the
message, and can be up to 125 characters in length.
b. Choose the type of message using the Message Type* drop-down menu.
You can choose from among the following options:
• Text
• Uploaded Image
• URL
c. In the Login Popup* field, choose whether the message appears in the Messages
pod, as a login popup message, or both.
d. Click the ![]() button next to the Active Start Date field, and choose the start
button next to the Active Start Date field, and choose the start
date of the message.
e. Click the![]() button next to the Active End Date field, and choose the end
button next to the Active End Date field, and choose the end
date of the message.
3. Click the Provide Content for the Message panel, and specify the content details.
If the message type is Text, specify the body of the message in the text box. You
can use the task bar to format your message, as required.
If the message type is Uploaded Image, do the following:
a. Click the ![]() button, and specify the file to upload.
button, and specify the file to upload.
The file must be in the JPEG, GIF, or PNG format, and must be less than 1MB.
b. Specify the body of the message in the text box. You can use the task bar to
format your message, as required.
If the message type is URL, type the URL in the URL to display field.
4. Click the Include an Attachment panel, click the![]() button, and specify the file to upload as an attachment to the message.
button, and specify the file to upload as an attachment to the message.
You can upload multiple attachments using the following formats: PDF, CSV, TXT,
ZIP, and Microsoft Word, Excel, and PowerPoint.
5. Click the Select Message Alert Icon panel.
a. Select the Alert Icon checkbox to have the message display an alert icon
when the message is displayed to the user.
b. Type the number of days that the alert icon is to be displayed in the Alert Duration
field.
note: Alert icons do not appear in Login Messages presented to users as a popup
when the user logs in.
6. Click the Select Who Will View This Message panel, and uncheck the Select All
Titles checkbox to add or remove specific titles.
Click the ![]() button, select the titles, and click the button. Click the
button, select the titles, and click the button. Click the ![]()
Remove link to remove a title from the list.
7. Click the ![]() button to save the message. Alternatively, click the
button to save the message. Alternatively, click the ![]()
button to clear your entries without saving.
note: If you create multiple Login Messages, Incent displays the messages in order
sorted by the closest end date that you specify for each message.
Preview a Message
1. Click a message in the list. The Message Information pane opens displaying the
general information.
2. Click the ![]() button, and choose Preview Message from the
button, and choose Preview Message from the
drop-down menu. A window appears previewing the current message.
Reorder Messages
You can specify the order in which messages will appear to users in the Messages
pod.
1. Click a message in the list, and drag and drop it to the new location.
2. Click the ![]() button to save the new ordering. Alternatively,
button to save the new ordering. Alternatively,
click the![]() button to undo your current changes.
button to undo your current changes.
Edit a Message
1. Click a message in the list. The Message Information pane opens displaying the
general information.
2. Click the appropriate panel heading, and modify the corresponding information,
as required.
3. Click the ![]() button to save your changes. Alternatively, click the
button to save your changes. Alternatively, click the ![]() button to undo your current changes.
button to undo your current changes.
note: Login Messages appear only once to any user immediately after they log into
Incent. If you edit the content of a Login Message, the edited message only appears
to users who have not logged in and seen the original message. If you want everyone
to see an edited message, you need to create a new message (or copy an existing
message).
Copy a Message
1. Click a message in the list. The Message Information pane opens displaying the
general information.
2. Click the![]() button, and choose Copy Message from the drop-down
button, and choose Copy Message from the drop-down
menu.
3. (Optional) In the General Information panel, type a new Message Title*.
You can choose to use the same message title for multiple messages, if needed.
4. Click the appropriate panel heading, and modify the corresponding information,
as required.
5. Click the![]() button to save the message. Alternatively, click the
button to save the message. Alternatively, click the ![]()
button to clear your entries without saving.
Delete a Message
1. Click a message in the list. The Message Information pane opens displaying the
general information.
2. Click the![]() button, and choose Delete Message from the dropdown
button, and choose Delete Message from the dropdown
menu. A confirmation dialog appears.
3. Click Yes to delete the message. Click No to dismiss the dialog without deleting
the message.