Reports > Customize > Pod Workflows
You can use this area to manage workflows that appear in the Workflows pod. Specifically,
you can add new workflows, update workflows, and delete unneeded workflows,
as required.
Screen
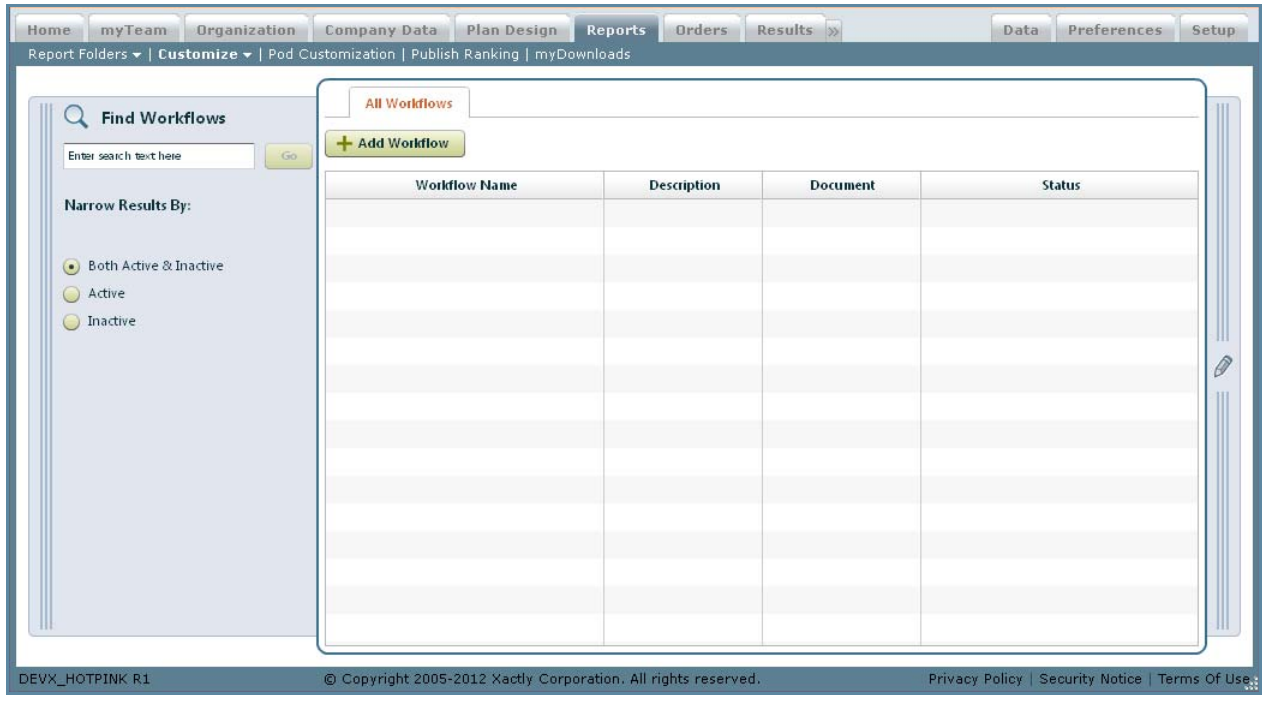
Pod Workflows Screen
All Columns and Fields
The following table describes the information displayed when customizing pod workflows:
| Column | Description |
|---|---|
| Workflow Name | The name of the workflow. |
| Description | A description of the workflow. |
| Document | The document associated with the workflow. |
| Status | The status of the workflow, from among the following: • Active • Inactive |
How to…
This section describes how to customize the pod workflows.
Display the Pod Workflows
1. Click Reports > Customize > Pod Workflows.
2. (Optional) Type a value in the Search field and click ![]() to display matches in
to display matches in
a new search tab.
3. (Optional) Choose the status using the Status drop-down menu.
Add a Pod Workflow
1. Click the ![]() button. The New Workflow screen appears.
button. The New Workflow screen appears.
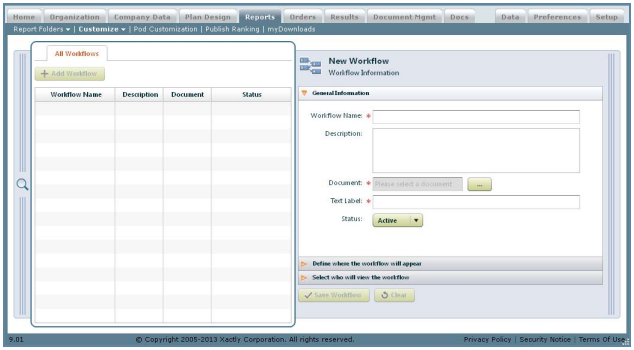
New Workflow Screen
2. Specify the general information.
a. Type the name of the workflow in the Workflow Name* field.
b. (Optional) Type a description of the workflow in the Description field.
c. Click the ![]() button next to the Document* field, select a document, and
button next to the Document* field, select a document, and
click the ![]() button.
button.
d. Type the label of the workflow in the Text Label* field.
e. (Optional) Choose the status of the workflow using the Status drop-down list.
3. Click the Define where the workflow will appear panel, and specify the workflow
placement by selecting the corresponding checkboxes.
4. Click the Select who will view the workflow panel, and uncheck the All Roles
checkbox to add or remove specific roles.
Click the ![]() button, select the roles, and click the
button, select the roles, and click the ![]() button. Click
button. Click
the Remove? link to remove a role from the list.
5. Click the![]() button to save the workflow. Alternatively, click the
button to save the workflow. Alternatively, click the ![]()
button to clear your entries without saving.
Edit a Workflow
1. Click a workflow in the list. The Workflow Information pane opens displaying the
general information.
2. Click the appropriate panel heading, and modify the corresponding information,
as required.
3. Click the ![]() button to save your changes. Alternatively, click
button to save your changes. Alternatively, click![]() the button to undo your changes.
the button to undo your changes.
Delete a Workflow
1. Click a message in the list. The Workflow Information pane opens displaying the
general information.
2. Click the ![]() button, and choose Delete Workflow from the dropdown
button, and choose Delete Workflow from the dropdown
menu. A confirmation dialog appears.
3. Click Yes to delete the workflow. Click No to dismiss the dialog without deleting
the workflow.