Results > Templates
You can create multiple payment download templates that you can use to create
payment files based on the latest payment results. The Payroll Template Navigator lets you make new templates to export data to different payment systems that require different data.
You can customize payment data to send to employees in your company, which they can import into their payment system.
note: To download an aggregated payroll, you need to define a payroll template in the Results > Templates > Payments area.
Screen
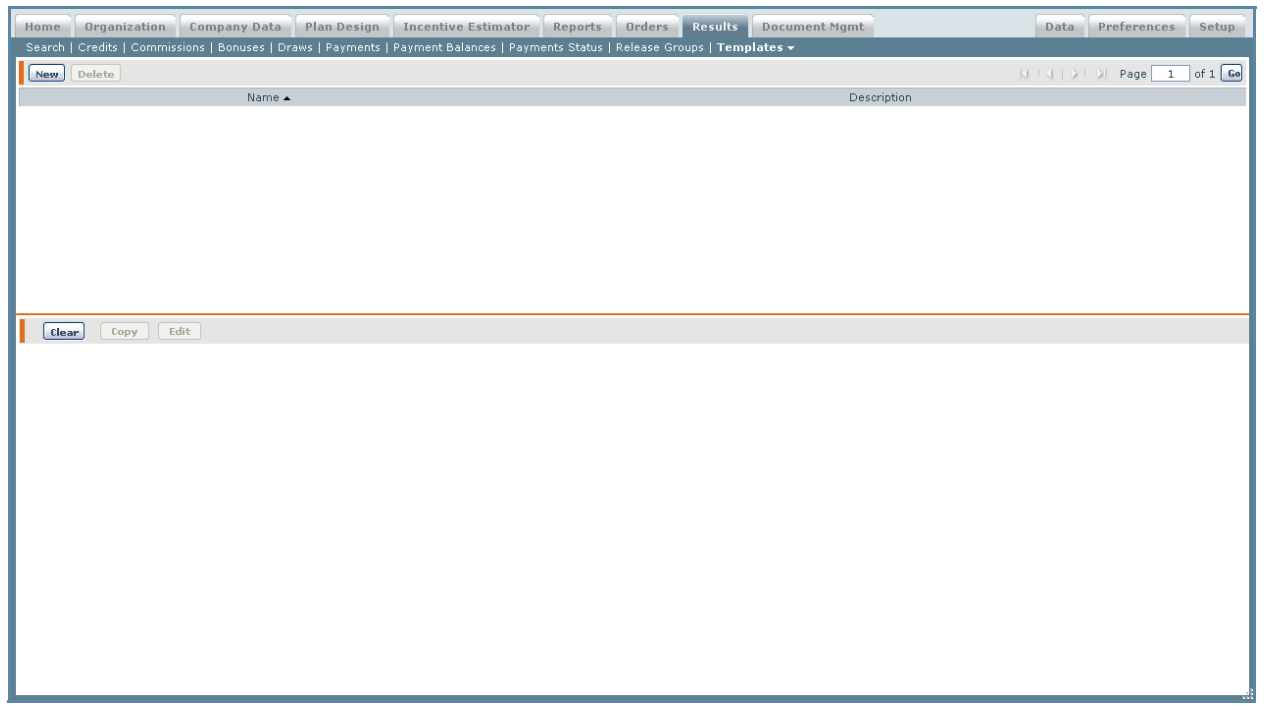
Results Template Screen
All Fields
The following table describes the information you can specify when managing
templates:
| Section | Field | Description |
|---|---|---|
| Step 1 | Name of Template | The name of the template. |
| Description | A description of the template. | |
| Step 2 | Selected Business Groups | The business groups selected. |
| Available Business Groups | The business groups available for section. | |
| Step 3 | Selected Columns | The columns selected. |
| Available Columns | The columns available for selection. | |
| Step 4 | Aggregation | Indicates whether data aggregation is required. |
| Include Negative Payments | Indicates whether negative payments are to be included. |
How to…
This section describes how to manage templates.
Create a Payment Download Template
To create a payment download template, do the following:
1. Click Results > Templates > Payments.
2. Click New. The first Payroll Template Navigator screen appears.
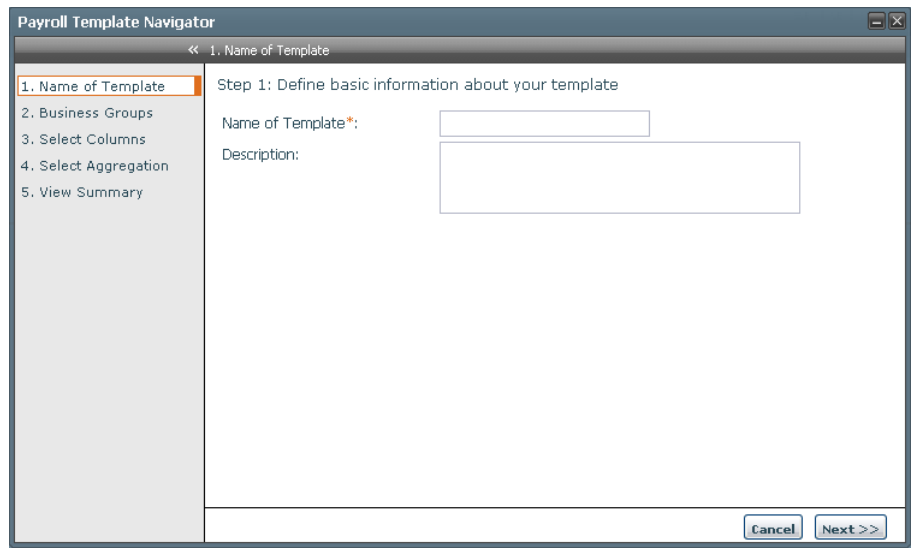
Payroll Template Navigator – Step 1
3. Enter the name of your new template.
4. (Optional) Enter a description.
5. Click Next. The second Payroll Template Navigator screen appears.
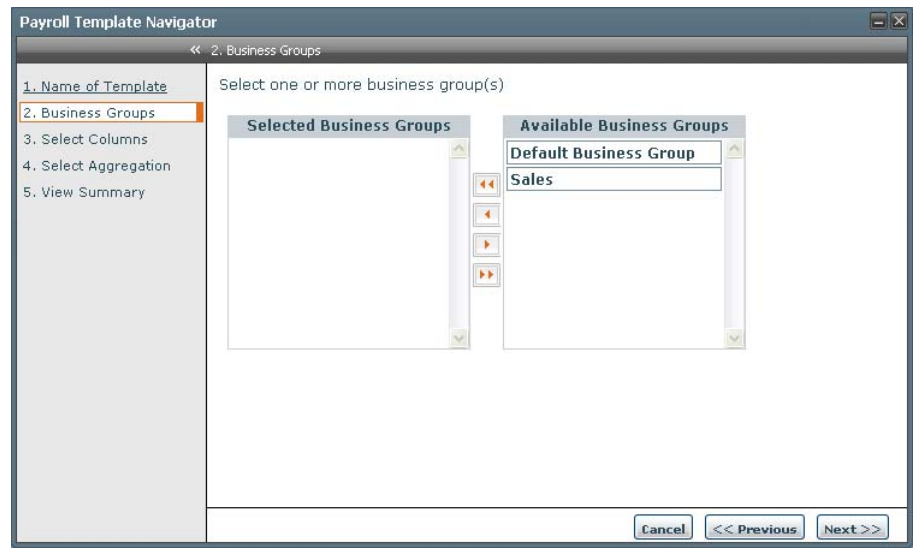
Payroll Template Navigator – Step 2
6. Move one or more business groups from the Available Business Groups area to the Selected Business Groups area. You can move business groups one at a
time by highlighting the group and clicking the Left Arrow key. Or, you can move all of the business groups using the Double Left Arrow key.
note: You can click the Previous button at any time to return to the previous step, or you can click Cancel if you decide not to create the template.
7. Click Next. The third Payroll Template Navigator screen appears.
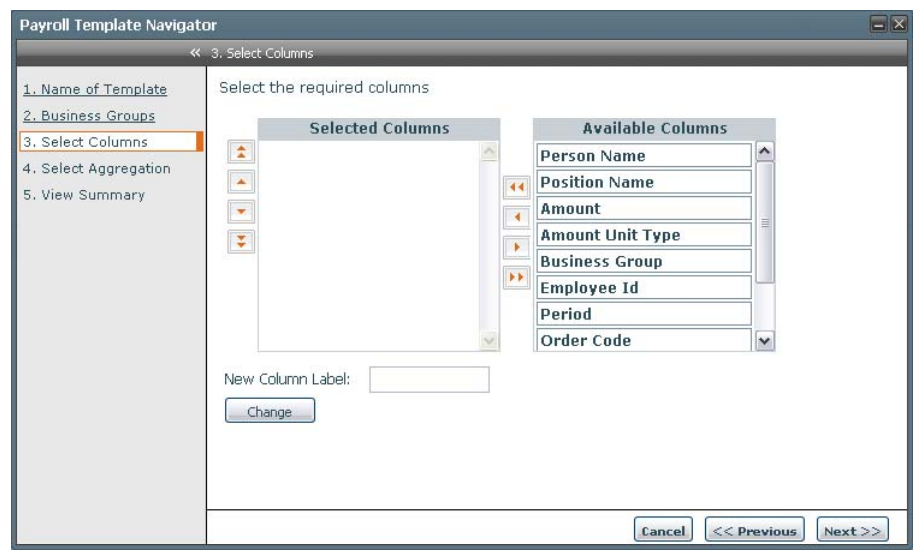
Payroll Template Navigator – Step 3
8. Select the columns that you want included in your template by moving column labels from the Available Columns area to the Selected Columns area.
You can choose from amongst the following columns:
• Person Name
• Position Name
• Amount
• Amount Unit Type
• Business Group
• Employee Id
• Period
• Order Code
• Item Code
• Negative Payment Amount
In the Selected Columns area, you can use the Up and Down Arrows to order the
columns as you want them to appear in your template.
note: You can click the Previous button at any time to return to the previous step,
or you can click Cancel if you decide not to create the template.
9. (Optional) If you want to change the name of an existing column, you can use the
New Column Name field. To do this:
a. Move the name of the column you want to change to the Selected Columns
area.
The existing name appears in the New Column Name field.
b. Highlight the existing name, and type the new name over it.
c. Click the Change button.
note: You can change the label names for both custom and standard fields.
10. Click Next. The fourth Payroll Template Navigator screen appears.
Payroll Template Navigator – Step 4
11. In step 4, specify whether aggregated data is required by choosing Yes or No from
the Aggregation drop-down menu. You can also specify whether to include negative
payments in the calculation by choosing Yes or No from the Negative Payments
drop-down menu.
note: You can click the Previous button at any time to return to the previous step,
or you can click Cancel if you decide not to create the template. After you
advance to the next screen, you cannot go back to the previous screens, so this
presents a good opportunity to make sure of your previous selections.
12. Click Next. The fifth Payroll Template Navigator screen appears.
Payroll Template Navigator – Step 5
13. This screen summarizes the template selections you have made. If everything looks
the way you want, click Submit, and the template is saved.
If you do not want to save the template, click Cancel.