Plan Design > Bonus Targets
You can use the Bonus Targets area to define and maintain information about people who will use Xactly Objectives. You can enter this information directly in the application or upload the data using a Microsoft XLS-format file.
Using the Bonus Targets area, you can do the following:
- Manage effective-dated bonus targets for people in your organization
- Determine which people will have Objectives plans created for them
- Configure the plan payment cap
- Override the personal payment currency
- Associate a person with a team
important: Incent users can have zero, one, or more associated Person records. To set a bonus target for a person in Objectives, the person must have a Person record in Incent, and the user must be assigned a role in Objectives. Users that do not meet these criteria do not appear in the Bonus Target search results.
Bonus Target Details
Bonus targets can be either yearly or quarterly. Quarterly plans reflect a target that is 25% of the yearly bonus target. For example, if the yearly target is 1000 USD, each quarterly plan has a target of 250 USD. Note that this calculation can be modified by using a formula. Click here for more information on Formulas.
Quarterly bonus targets are available when your proration model does not split evenly across quarters or when the bonus target is unique per quarter. For example, if the quarterly target is 250 USD, each quarterly plan has a target of 250 USD. However, a yearly plan would have a target of 1000 USD.
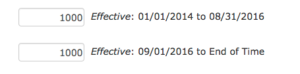
Changes to a person’s bonus can occur for a variety of reasons. These changes are reflected in effective-dated versions of the bonus target. For example, a person is hired with a bonus target of 1000 USD. On September 1, their bonus is increased to 1500 USD. To define this bonus change:
- Add a new version to the person record in Incent, effective September 1. The new version will appear instantly in Objectives using the previous version as the default value.
- In Objectives, edit the bonus target record so that the new version has a bonus target of 1500 USD.
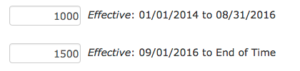
- Click Save.
The new bonus value will appear on any existing plan which is not in a Completed status. The change will not affect plans in a Completed status.
If proration is enabled on Setup > Settings and the bonus target changes cross plan period boundaries, the plan bonus value will be prorated. For example, if a quarter runs from August – October, the proration would count 31 days (August) at 1000 USD (336.96) and 61 days (September and October) and 1500 USD (994.57) for a plan bonus value of 1331.53 USD.
Screen
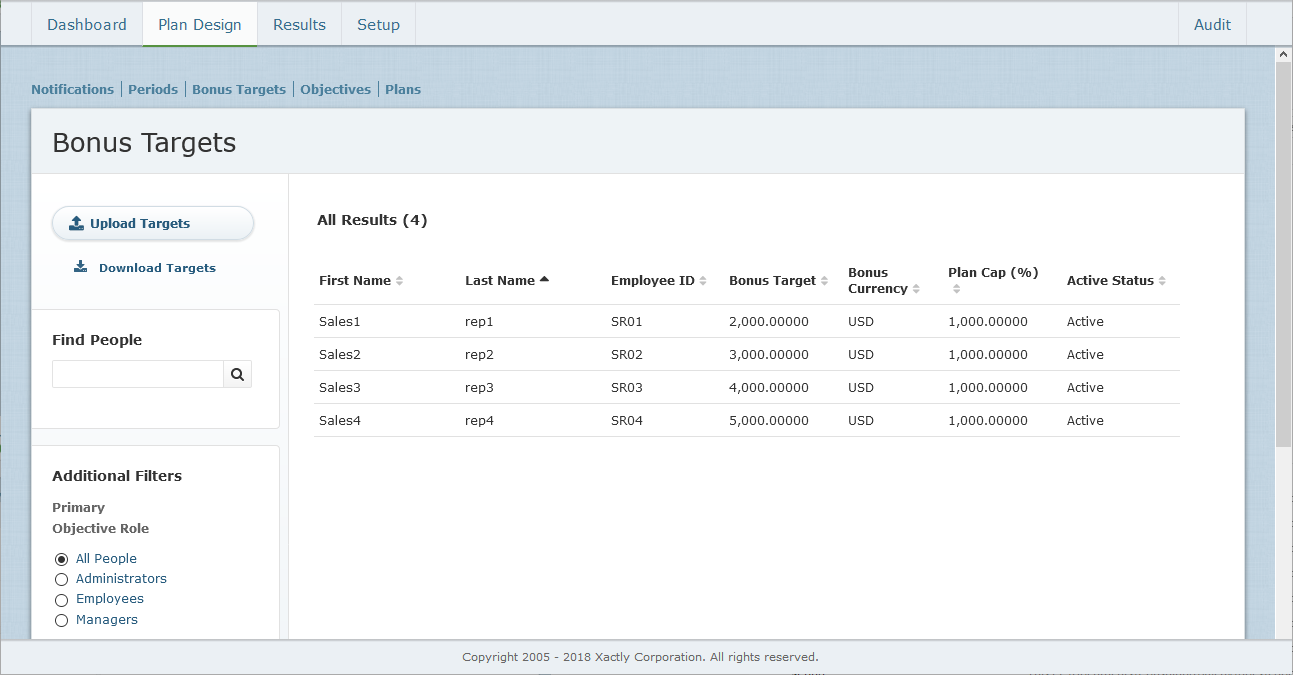 Bonus Targets Screen
Columns
The following table describes the information displayed when managing bonus targets:
| Field | Description |
|---|---|
| First Name | The first name value associated with the person record in Incent. |
| Last Name | The last name value associated with the person record in Incent. |
| Employee ID | The employee ID value associated with the person record in Incent. |
| Bonus Target | The yearly bonus target effective at the end of the current year. |
| Bonus Currency | The currency of the bonus target. The default value is the payment currency in Incent. |
| Plan Cap (%) | The maximum payment percentage available for this person's plan. Valid values range from 0 to 1000 (percent) |
| Active Status | The status determines whether new plans can be created for the person. |
How to …
This section describes how to manage bonus targets.
Display Bonus Targets
Click the Plan Design tab, then click Bonus Targets in the secondary menu. The Bonus Targets screen appears displaying users with their corresponding bonus targets.
• To find specific people, type part of name in the Find People text box, and click the ![]() button. The search results appear.
button. The search results appear.
Click the ![]() button to clear the Find People text box and reset the search results.
button to clear the Find People text box and reset the search results.
• To filter people, choose an option in the Additional Filters section.
You can filter people based on the following primary Objectives roles:
• All People (default)
• Administrators
• Employees
• Managers
You can also filter people based on their status, from among the following options:
• All (default)
• Active
• Inactive
Finally, you can filter people based on their team membership using the Team drop-down list.
• Click an entry to reveal details about the person and related bonus targets.
The Details tab displays all person versions, along with the bonus targets for each period visible to administrators. The tab also displays the prorated values for each period (if bonus proration is enabled in the Setup > Settings area), otherwise the bonus value effective at the end of the period is shown.
• Use the page navigation buttons to navigate between the pages of bonus targets.
Edit a Bonus Target
- Click the Plan Design tab, then click Bonus Targets in the secondary menu. The Bonus Targets screen appears.
- Hover over an entry in the list, and click the Edit button that appears. The Edit Bonus Targets screen appears.
- In the Due Dates (Yearly) field, choose the appropriate yearly due date.
You can choose from among the due dates defined in the Settings > Due Dates area. Objectives uses these due dates when the person is assigned to a yearly plan. - In the Due Dates (Quarterly) field, choose the appropriate quarterly due date.
Again, these are the due dates defined in the Settings > Due Dates area. Objectives uses these due dates when the person is assigned to quarterly plans. - In the Active Status field, choose the status of the person using the drop-down list. The status determines whether new plans can be created for the person.
The available options are Active or Inactive. The most common example for inactive status are managers who will not have their own MBO plan. In addition, when terminating a person, you should set their status to inactive after all their plans have been completed. - In the Plan Cap field, type the cap that applies to all plans created for the person. Valid values are between 0 and 1000 inclusive (representing 0 to 1000%).
Caps are not visible to managers or employees, however, they do see a visual indicator on the plan when the payment has been adjusted due to the cap. The default value for new records can be defined in the Setup > Settings area. - In the Bonus Target Period field, specify whether the bonus target is a quarterly or yearly value using the drop-down list.
Choose Quarterly when your proration model does not split evenly across quarters or when the bonus target is unique per quarter (and most, or all, of your users have a quarterly bonus target period).
Note that if you change the bonus target period from yearly to quarterly (or quarterly to yearly), you need to manually update the corresponding values in the Bonus Target field. - In the Version section, click Show Details to display the person versions defined in Xactly Incent.
For each version, you can specify the following:- In the Team field, choose the team to which the person belongs. A person can be assigned to one team for reporting purposes.
Note that when assigning plan templates by team, the assignment process uses the team assignment active at the end of the plan period. The same is true for calculations. If a person’s team membership is changed mid-period, the plan uses the calculation effective at the end of the period. Click here for more information about Teams. - In the Bonus Target field, type the bonus target amount for the specified bonus target period (for the effective date range).
- In the Currency field, choose the currency for the bonus target using the drop-down list.
Note that if a person’s currency changes mid-period, the plan uses the currency effective at the end of the period.
- In the Team field, choose the team to which the person belongs. A person can be assigned to one team for reporting purposes.
- Click the
 button. All the values are saved. Alternatively, click the Cancel button to close the panel without saving your changes.
Plan cap and bonus target values apply immediately to all plans that are not final. Changes to plan caps have no effect on plans which have already been submitted for payout.
Upload Bonus Targets
When uploading bonus targets, the Effective Start Date values must match the dates defined in the Incent person record. It is not possible to create or change the effective start date for a person when uploading bonus targets.
For this reason, Xactly recommends downloading the existing bonus target data, which includes the effective start date values.
- Click the Plan Design tab, then click Bonus Targets in the secondary menu. The Bonus Targets screen appears.
- (Optional) Click the
 button. A dialog appears allowing you to save or open the file. Save the file to your local machine.
 - Click the
 button. A dialog appears allowing you to download a template file and upload the populated file.
Download the upload template file to your local machine. - If you downloaded existing bonus target data (in Step 2), copy the existing data from the downloaded file (in CSV format) to the upload template file that you downloaded in Step 3.
- Add the new bonus target data or modify the existing data in the upload template file.
Be sure to use the upload template file that contains your existing bonus target data, if appropriate. Note that the value in the Effective Start Date column might appear as 00:00.0. If this is the case, you can see the actual data by clicking on the cell and viewing the Excel Formula bar.You can modify the following columns:- Team
- Yearly Due Date
- Quarterly Due Date
- Objectives Bonus
- Objectives Currency
- Is Active
- Plan Cap
- Ensure the last row in the template file contains <EOF>.
- Save the upload file on your local machine.
- Click the
 button. A dialog appears allowing you to locate the upload file. Select the appropriate file. The file name appears in the pane.
 - Click the
 button. The information is uploaded to Xactly Objectives. Alternatively, click the Cancel link to dismiss the pane without uploading the bonus targets.
Any errors are listed in the pane.
Download Bonus Targets
- Click the Plan Design tab, then click Bonus Targets in the secondary menu. The Bonus Targets screen appears.
- Click the button. A dialog appears allowing you to save or open the file.
- Save the file to your local machine.