Results > Measure
You can use the Measure area to measure company and discretionary objectives. Individual objectives are measured on each plan in the Results > Plans area.
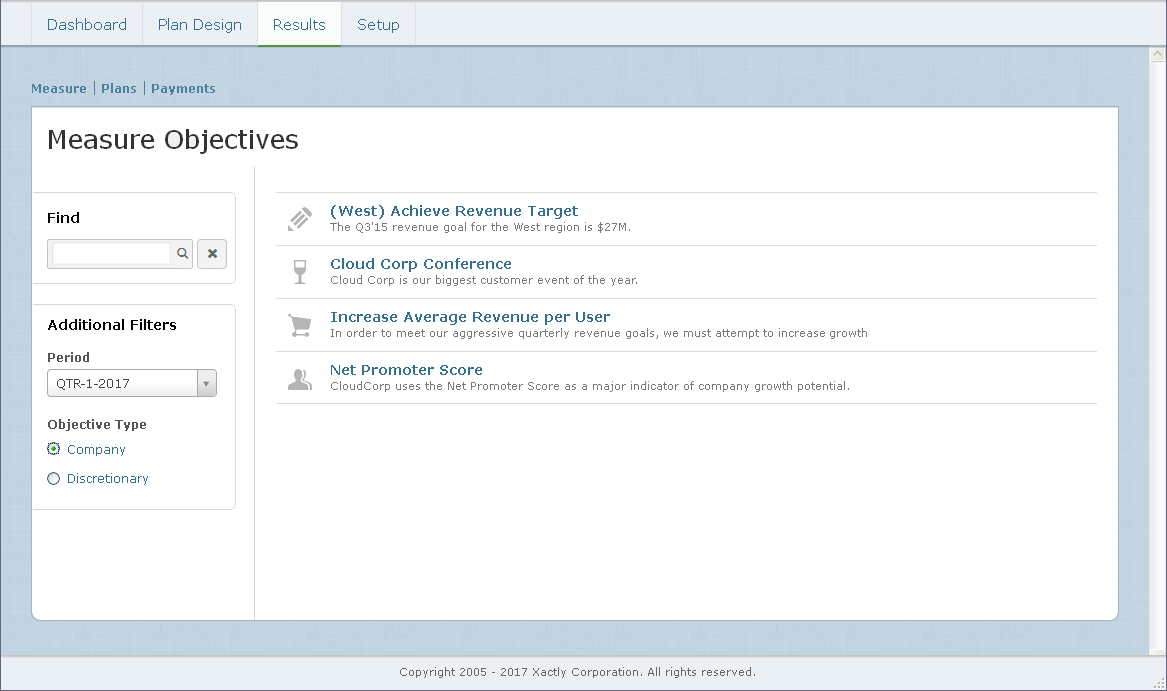
Measure Screen
How to Measure Company Objectives
Saving a measurement will immediately update all plans containing the objective including any calculations which reference the company objective. The rating and any comments will be visible to the employee and manager associated with the plan. The rating and comments can be updated continually throughout the period.
The recommended best practice is to enter an initial estimate early in the period so that employees can see the potential impact on their plan payout. When doing so, enter a comment to ensure the employee knows it is an estimated value and will change towards the end of the period.
Display All Company Objectives
Click the Results tab. The Objectives screen appears displaying the company objectives for the selected period.
- To find specific objectives, type part of the title or description in the Find Objectives text box, and click the
 button. The search results appear.
 - Click the
 button to clear the Find Objectives text box and reset the search results.
 - To filter objectives by period, choose the appropriate period using the drop-down list in the Filters section.
- To filter objectives by type, select the corresponding radio button (either Company or Discretionary) in the Filters section.
note: Only company objectives that have been added to plans appear.
Measure Company Objectives
1. Click the Results tab. The Objectives screen appears displaying the company objectives for the organization.
2. Click an objective to measure the objective.
note: The entire definition of the objective can be found on Plan Design > Objectives.
4. Enter the achievement of the objective.
Do the following:
• For quantitative objectives, type a value in the Actual field.
• For qualitative objectives, indicate whether the target was achieved. Optionally, in the Comments field, type a comment to associate with the objective measure.
Click Save, or click Save & Next to open the next objective.
Submit Company Objectives as Final
A company objective must be submitted as final before a plan containing that objective can be submitted for payout and moved to Completed status. Once Submit as Final is clicked, the action is completed and there is no option to reverse the action.
Once all company objectives on a plan are submitted as final, and all other objectives have been measured on the plan, the Submit Payout button will become available so that the plan can be completed.
Display All Discretionary Objectives
Click the Results tab. The Objectives screen appears.
- To find specific objectives, type part of the title or description in the Find Objectives text box, and click the button. The search results appear.
- Click the button to clear the Find Objectives text box and reset the search results.
- To filter objectives by period, choose the appropriate period using the drop-down list in the Filters section.
- To filter objectives by type, select the corresponding radio button (either Company or Discretionary) in the Filters section.
note: Only discretionary objectives that have been added to plans and assigned to individuals appear.
Start Discretionary Objectives
Starting a discretionary objective initiates the allocation process for managers. The lowest level managers with eligible employees receive an email to begin the allocation process. Each manager can then allocate any amount for their direct team and submit to the next-level manager.
Each manager can view and modify their direct eligible employees, as well as all levels below them.
- Click the Results tab.
- Choose Discretionary in the Filters section.
- Click an objective with a status of Not Allocated Yet.
note: The entire definition of the objective can be found in the Plan Design > Objectives area. - Note the value of the Amount Set By field. While you can start the allocation process at any time, the pool size is not updated after it has been started.
- Click the Preview Employees button to see the list of employees that are eligible for the discretionary bonus.
- To start the allocation process, type the number of days to allow for allocations at each level (in the corresponding field), and click the
 button . Click Yes at the confirmation dialog.
Override Discretionary Objectives
Administrators can view and modify all allocations at any time.
- Click the Results tab.
- Choose Discretionary in the Filters section.
- Click an objective with a status of In Progress.
- Click the
 button. The Allocations screen appears.
 - Expand or collapse the teams to display team members. The number next to each team indicates the number of team members eligible for allocation.
- Type values in the corresponding fields to allocate discretionary amounts.
- Click the Save Allocations button, or click Cancel to discard your modifications and close the screen.
Finalize Discretionary Objectives
After all allocations have been made, you can finalize the discretionary objective. After the objective is finalized, the allocations can no longer be modified. In addition, payment entries for the allocations are created.
- Click the Results tab.
- Choose Discretionary in the Filters section.
- Click an objective with a status of In Progress.
- Click the Finalize Allocations button.
note: There is no warning and no way to reverse the finalized status.